It’s been some time since our last post as things have been busy at the workshop. All good stuff!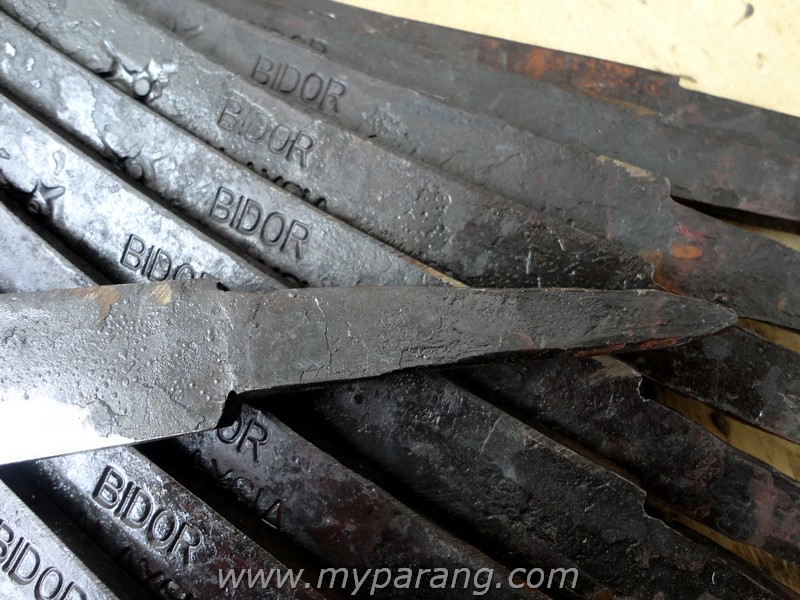 This post will be about stick tang parangs. We get a lot of inquiries regarding full tang parangs, but at the moment we do not make them. Most people ask for full tang parangs because they believe that the stick tang parang is a lot weaker and dangerous compared to a full tang parang. This may be a myth? Read on .
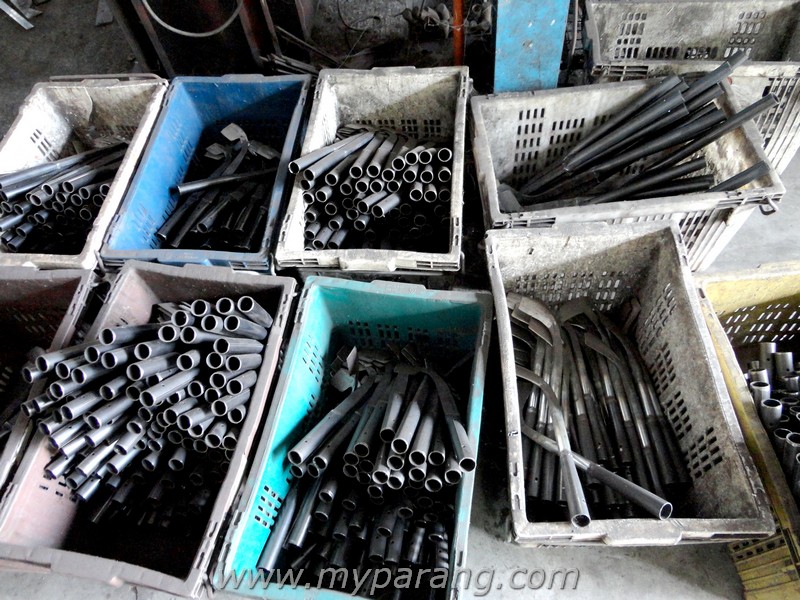
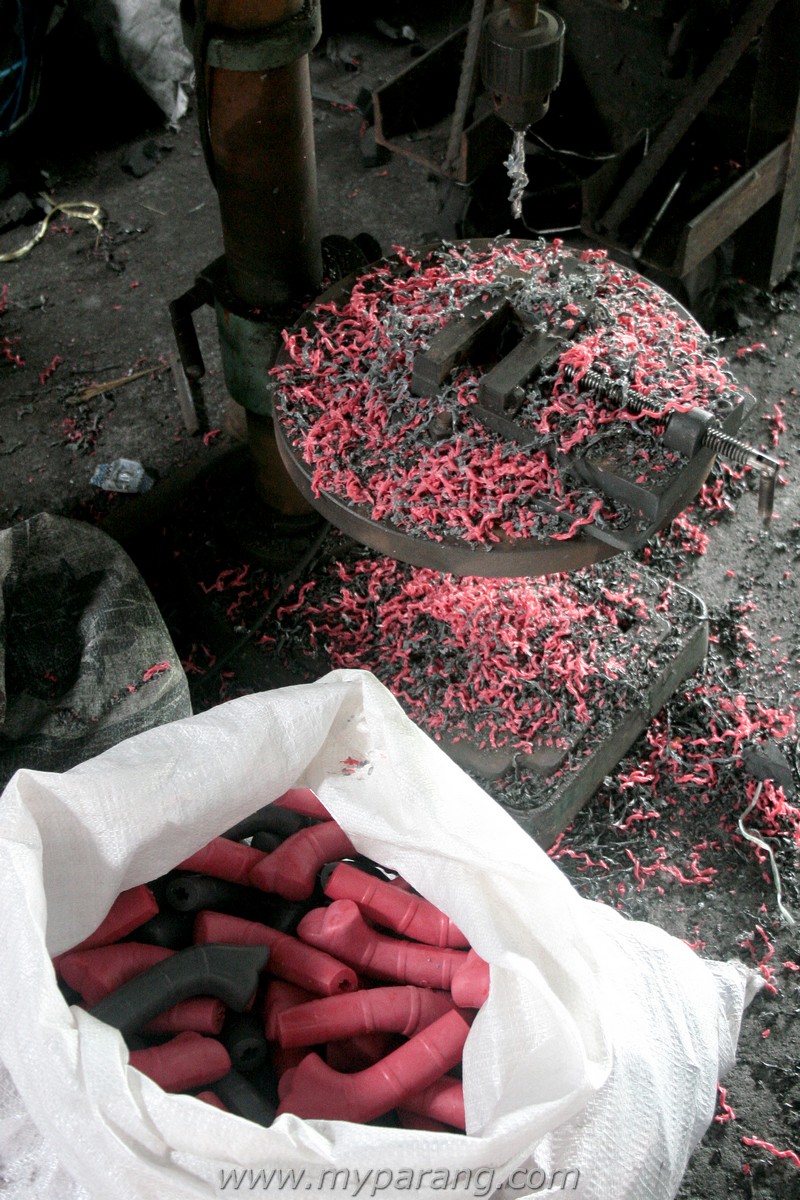
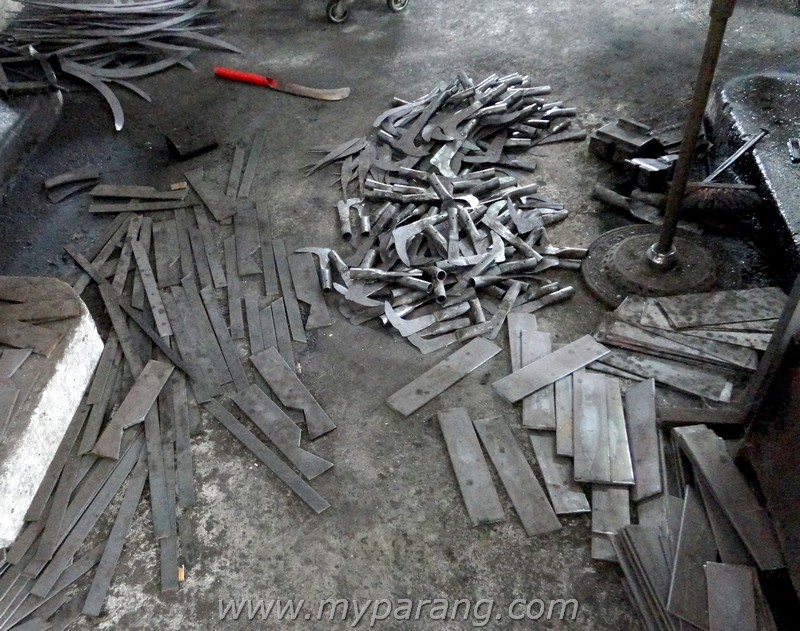
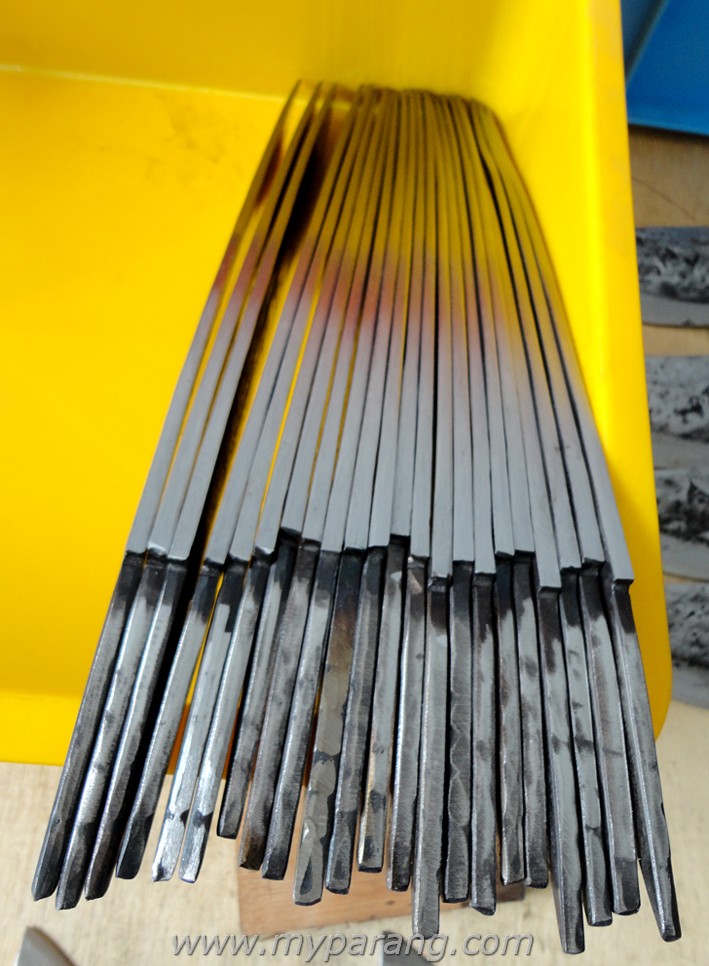
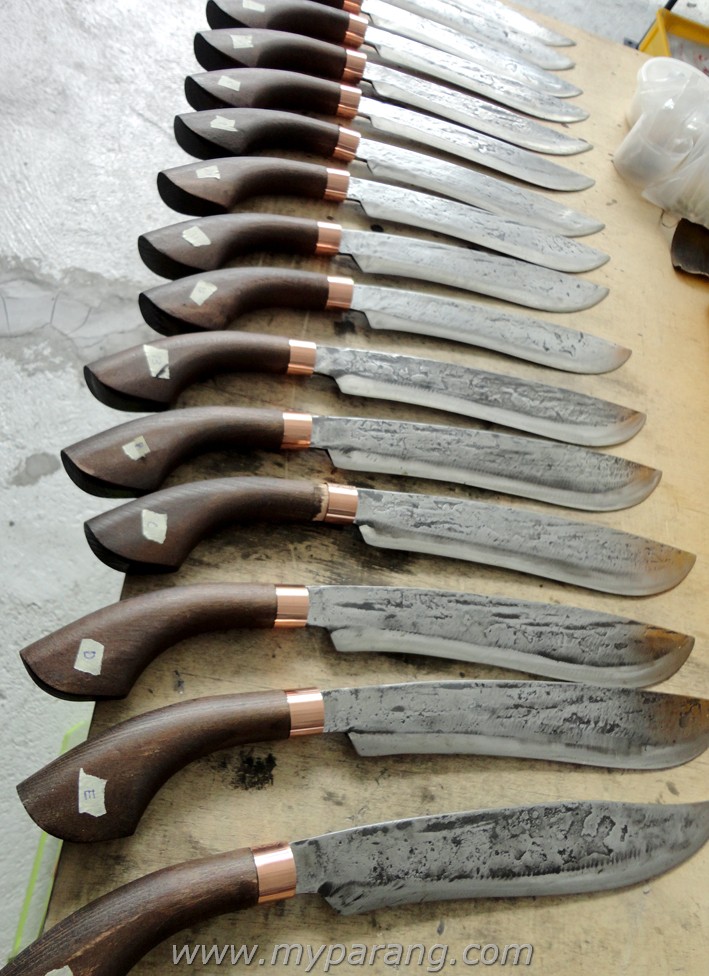
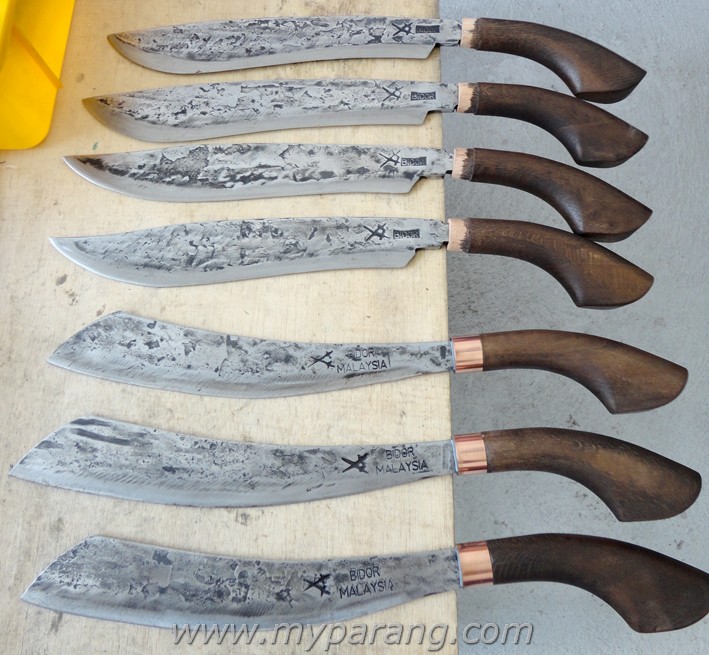
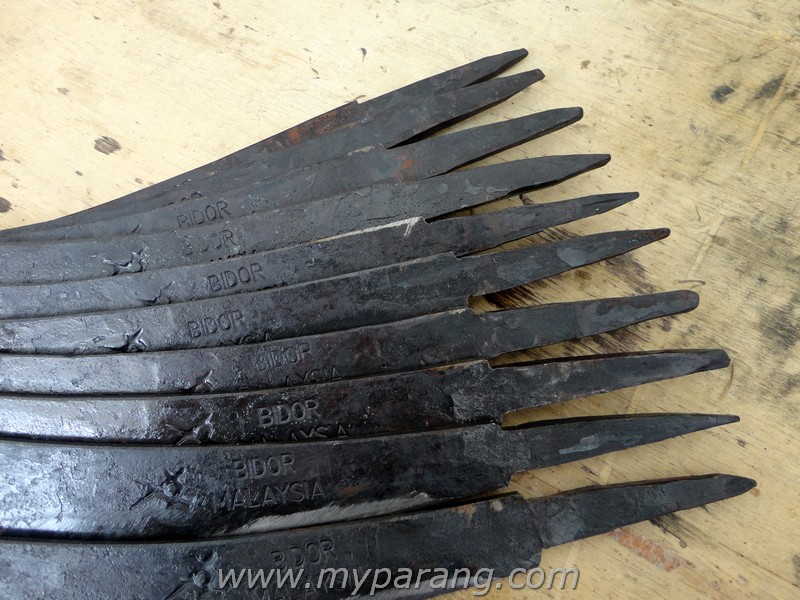 The stick tangs parangs before the handle is installed
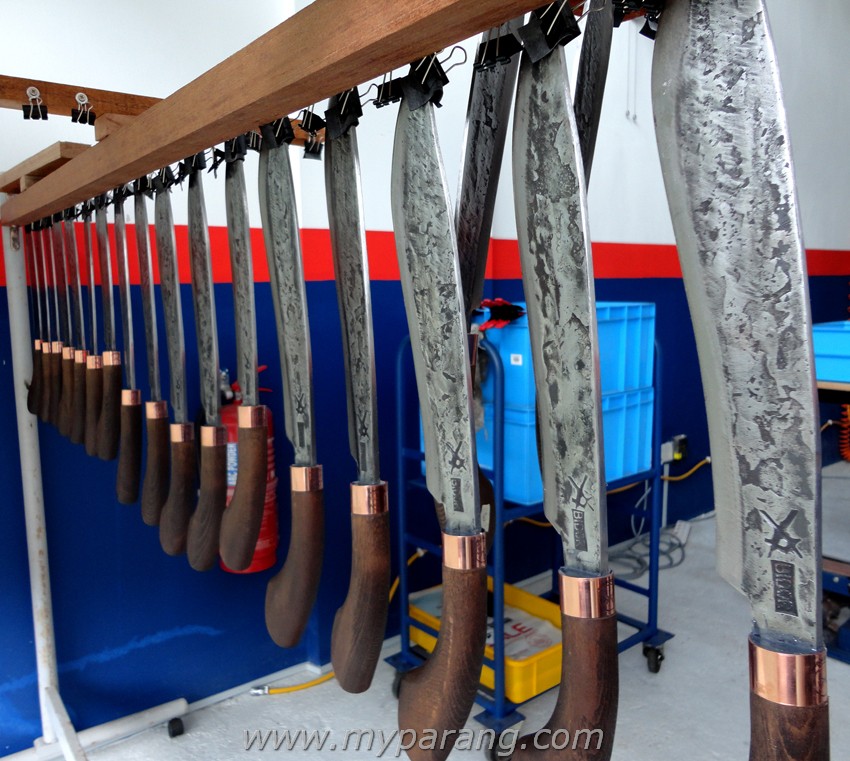
The traditional parang has remained unchanged for hundreds of years, and they have been stick tang all this while. For a design that has been that way for so long, there must be something right . The stick tang parang construction actually has a few benefits such as bringing the effective weight forward, hence a more powerful chop, while reducing the overall parang weight. The stick tang also uses less steel , and the handle, if it comes loose, can be easily repaired. Yes, sometimes the handle does comes loose , and if you are a regular parang user, you can immediately notice this when you do some chopping.
 This picture shows the stick tang parang is more weight – forward compared to the full tang parang. The gold coloured lines are the midpoint ( tip to tip ) .
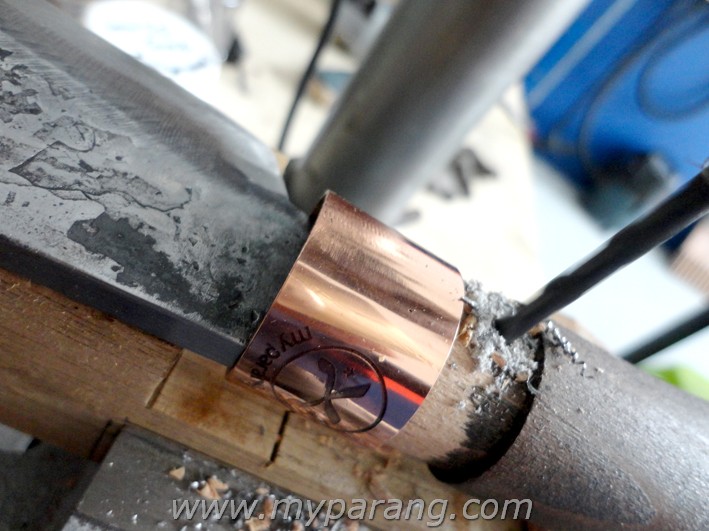
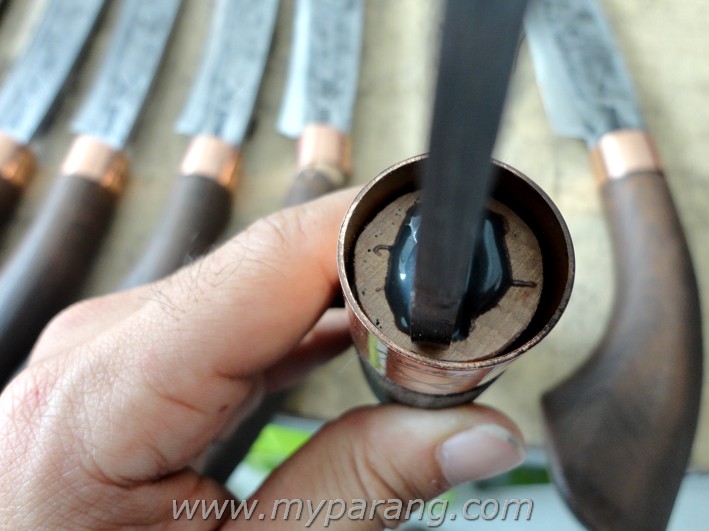
Some people add pins to their stick tang parangs ( all parangs from myparang have a brass pin under the collar ) to prevent the blade and handle from coming apart, and that’s acceptable. The pin does not help to strengthen the parang in any way, nor does it effect it’s balance. It’s function is to prevent the blade from dropping ( or more dramatic – flying out ) out . With that said, one should keep that clearly in mind. A bigger pin will NOT make your parang safer, actually it will weaken it a lot. By drilling a large hole, you are actually removing metal from the already thin stick tang. Too little metal on the tang will result in sudden failure and potentially injure someone.
Some people add two pins, which is really not necessary. One pin is safe enough, two pins is overkill and not needed.
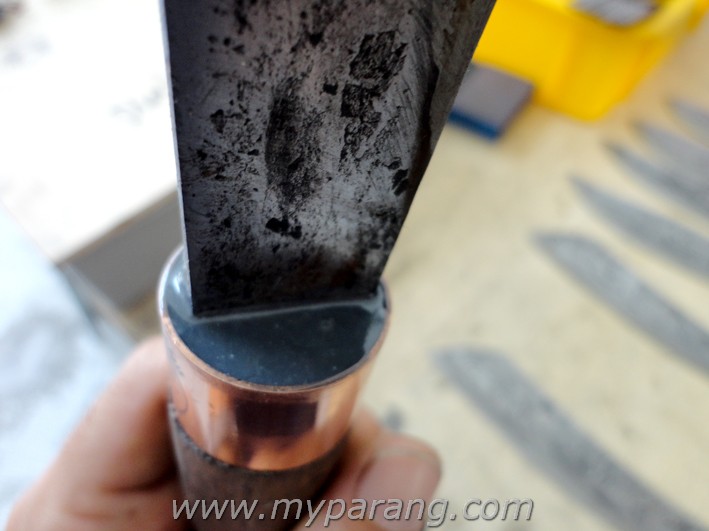
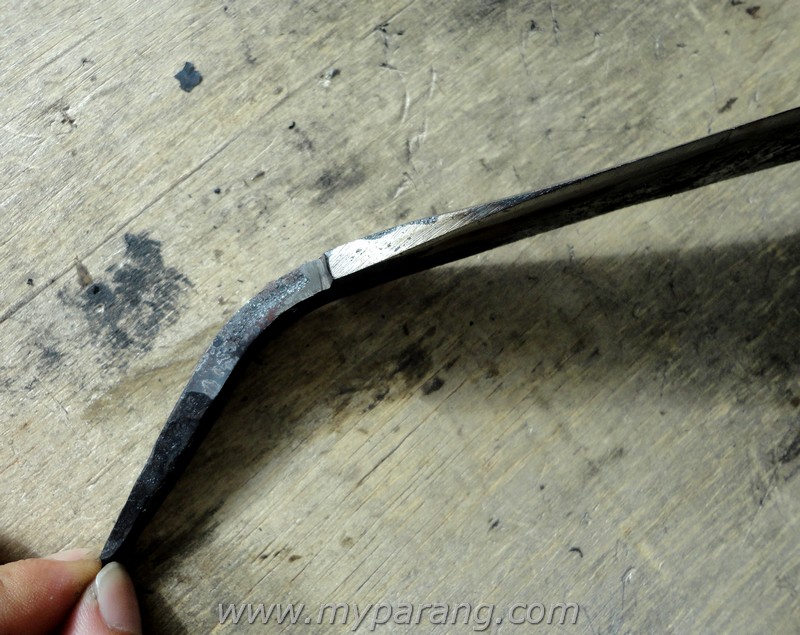
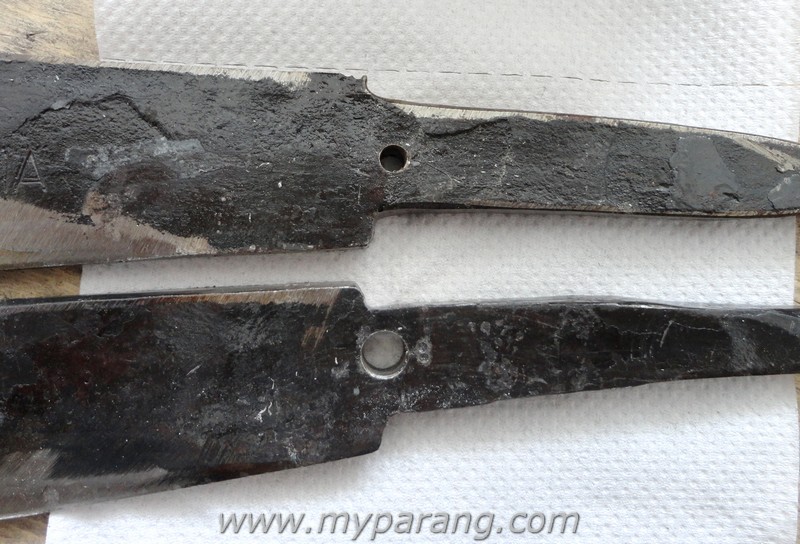 The top is the hole size we use for our brass pin which is 3.5mm thick, while the hole below has a 6.0 mm hole drilled through it to show the effects of adding a larger pin. Notice how much metal is left in the lower parang stick tang.
Some have raised their concerns on the “smallness ” of the tangs and are worried that the stick tang parang will break at the tang. This is probably true if the whole parang blade is hardened. The common parangs you see in Malaysia and also the ones from Myparang do not have a hardened tang. Only the cutting edge of the parang is hardened, not the spine and not the tang. This can only be achieved by hand – hardening the blades , machines cannot replicate this. So, while a modern factory made machete “might” break at the tang, a traditionally made parang with a stick tang will not. I have checked with the Bidor maker, and he himself after being in the industry for 50+ years, has never seen one if his stick tang parangs break at the tang.
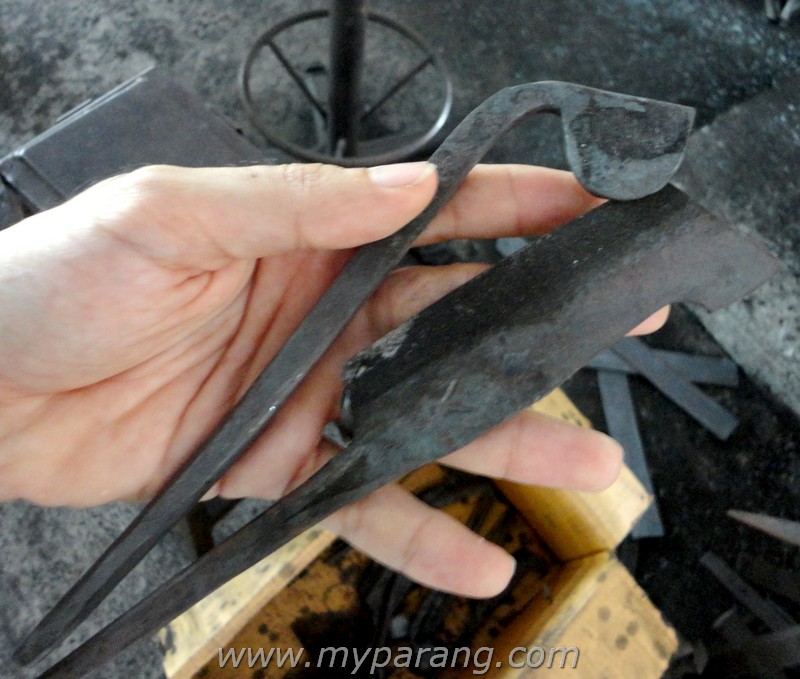
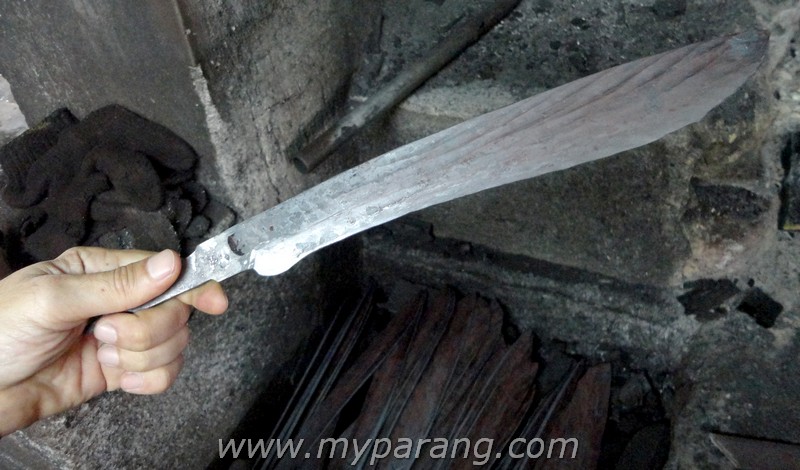
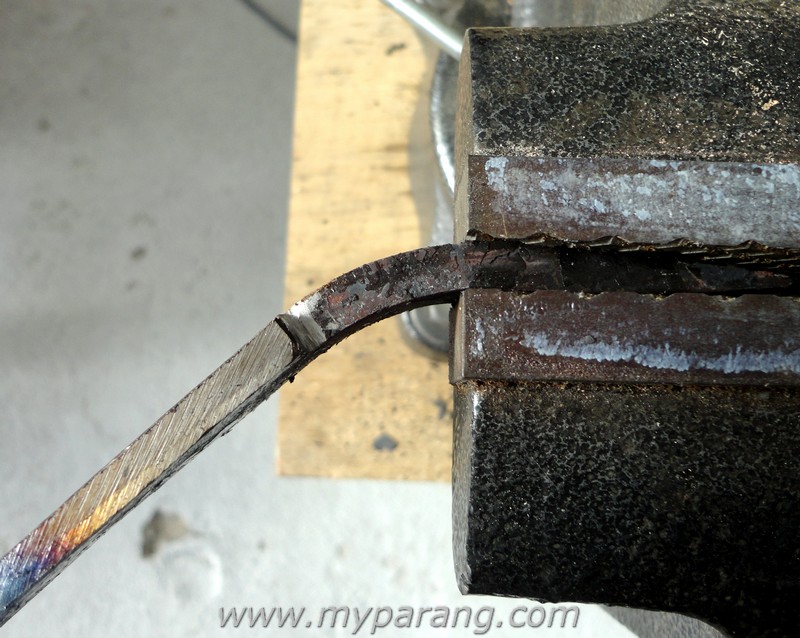 Bending the tang , we tried, but it will not break!
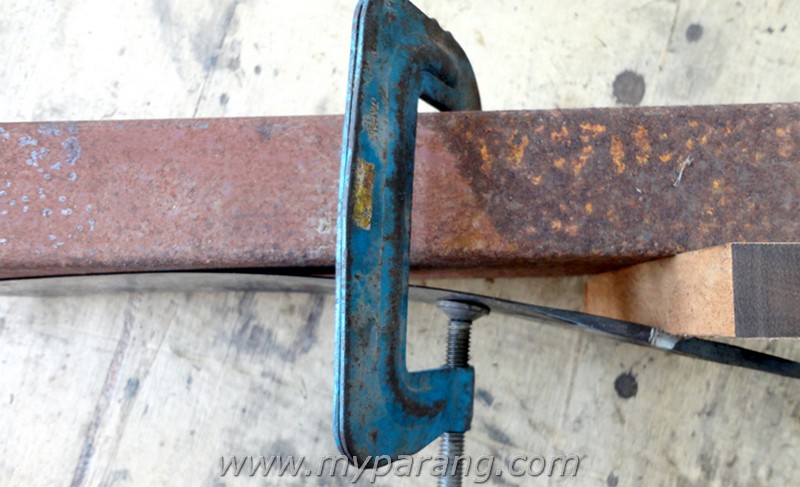
 Here it is out of the vice. No, we’re not turning this one into a parang 🙂
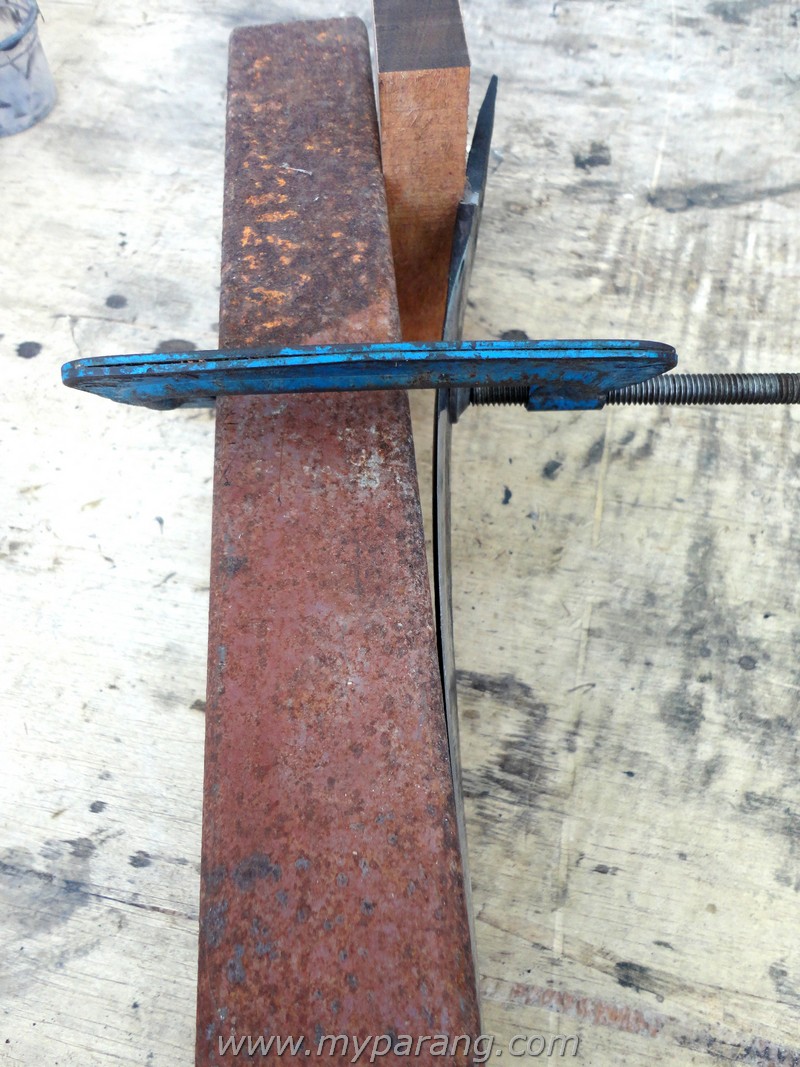
 This is how much the blades can bend, actually it can bend more, but our G-clamp was at it’s limit already.
Having see the pictures, I hope it helps to illustrate the point that stick tang parangs are safe. Yes, the handle may come out loose. We at myparang try and avoid that by making sure the tangs are ground to bare metal, cleaned with solvents and use industrial strengthen epoxy to bind it all together. Then we add a 3.5mm brass pin as a safety precaution.
We understand that axes do not come pinned in any part of the world , and nobody pins axe heads. Interesting enough, as the axe heads are held by friction only in the hafts ! That’s some food for thought folks!