Sharpening Stones


Every parang user will need eventually a means to sharpen it. Here is a short write up on sharpening stones used to sharpen parangs .

Being a parang user for 20+ years, I have an array of sharpening stones. Some have been worn out and discarded, and some are still in use. Sharpening stones come in various shapes, sizes , material and grits. Most sharpening stones are square, but some come round or wedge- shaped. Some are made of natural material – especially the finer grit ones. The coarser stones are usually made with carborundum , diamond or similar types of abrasives held together with a binder. Grits range from 40 and all the way up to about 1200 grit. It is quite difficult to grade a natural sharpening stone as it is not made of a specific grit and you can only tell from using it. Some natural sharpening stones will be harder than some and some will not cut as well as some.

Sharpening is basically removing steel from the knife edge , and how you achieve this can be quite interesting. I have seen rocks , sand , files, carbide scraper, sand paper , porcelain , dremmel and grinders being used. They all try and achieve the same final outcome, which is a sharp edge.

A note on mechanical sharpening – ie sanding machines, dremmel and grinders – I’ll not touch on these as I believe if you are not familiar with power tools, you can actually ruin the edge by over grinding. You can also destroy the heat treatment by overheating the knife edge.

So lets go to the sharpening stones. First up is a natural sharpening stone I am very familiar with. It belongs to my late grandmother and was placed outside her house on the ground next to the garage. It was one of the first natural sharpening stones I have ever seen, and it was used very very well. As you can see from the pictures below, the surface has become like a saddle from all the years of sharpening kitchen knives, goloks, sabit and parangs. A few years back, I noticed the stone was not in its place and only recently my uncle told me that someone had moved it. I’m so glad that it is now in my possession , although someone had chopped the top surface . I’ll try and recondition the surface back to its original smoothness. It is believed that this stone is more than 50 years, as my uncles remember that is was already in use when he was a child.  In some  villages even today, it is quite common to see a similar stone by the riverbank which the whole village uses to sharpen their knives.

sharpening stones myparang 06
The Natural sharpening stone from my late grandmother’s house
sharpening stones myparang 05
Another angle
sharpening stones myparang 08
The top of the stone has been damaged. Looks like someone chopped it
sharpening stones myparang 07
The saddle and smooth surface of the stone

Below are some of the sharpening stones I have used in the past. Some are natural and some are man made. The rough “brick” is used to dress the other stones, ie I do not use it to sharpen knives, but I use it to flatten the surface of the other stones before I start sharpening. A concave stone does not produce a good edge. As you can see, they come is various different sizes, from 5 inches long to 8 inches long. Some of the sharpening stones have two grits, one rough grit on one side, and a finer one on the other side.

sharpening stones myparang 01
Some of my sharpening stones I have used

Here are some of the man made ones , some are thinner and good for field use. The green sharpening stones are much harder and better for stainless steel knives as they don’t wear out as fast as the black ones.

sharpening stones myparang 03
Man made sharpening stones

Here is a close up of the natural stones. These natural stones differ in hardness, and some produce a slurry / muddy paste when sharpening. The left most and right most stones are the hardest, they sharpen quite slowly and produce not much slurry. The second from the left is my favorite, it sharpens fast and produces a muddy slurry. The on to the right of it is not the best stone, too soft and the slurry is very gritty. Usually I use these stones at the final stage, to get a razor sharp edge. The edges usually come out slightly hazy or mirror polished, depending on which sharpening stone you use.

sharpening stones myparang 02
Natural sharpening stones

Recently about a year back, I discovered or actually had the opportunity to try out a friends diamond stones. To keep things short, I’ve never looked back 🙂 . They cut much faster and you can use them dry. Best of all , they don’t need any dressing and stay flat forever. I’ve tried cheaper diamond stones and have been disappointing as the diamonds fall off after some time. But these DMT diamond stones are the best!

sharpening stones myparang 04
DMT diamond stones

Sharpening stone holders also come in various shapes and sizes. The left one below is from my inlaws , and it is just a square block of heavy wood with a carved recess for the stone to sit in . The middle one is one I made a long time ago, and you can wedge it against the table edge. I used to use oil when sharpening , hence the mess , but now days I either use water or nothing ( on the diamond stones ) . The sharpening stone holder you see on the right is one which I made a few years ago. It’s a copy of the modern stone holders and it works very very well. The bottom picture shows the modern sharpening stone holder , it’s much slimmer and has a better grip. I now have a few of these at home and in the workshop. it’s the best addition to your sharpening stones, and everyone should have one.

sharpening stones myparang 09
Various types of sharpening stone holders
sharpening stones myparang 15
A modern sharpening stone holder

Besides these, I also have some Japanese sharpening stones, up to 6000 grit. I seldom use it as I don’t need such a sharp knife. For the parangs I have , 600 grit is more than enough, and if I want to show off to friends, i use the 1200 grit. Thats enough to shave hair off my arm.

I also have a Spyderco Sharpmaker, and I use it for sharpening my folding knives. it’s easy and fast!
 

Stick tang parangs

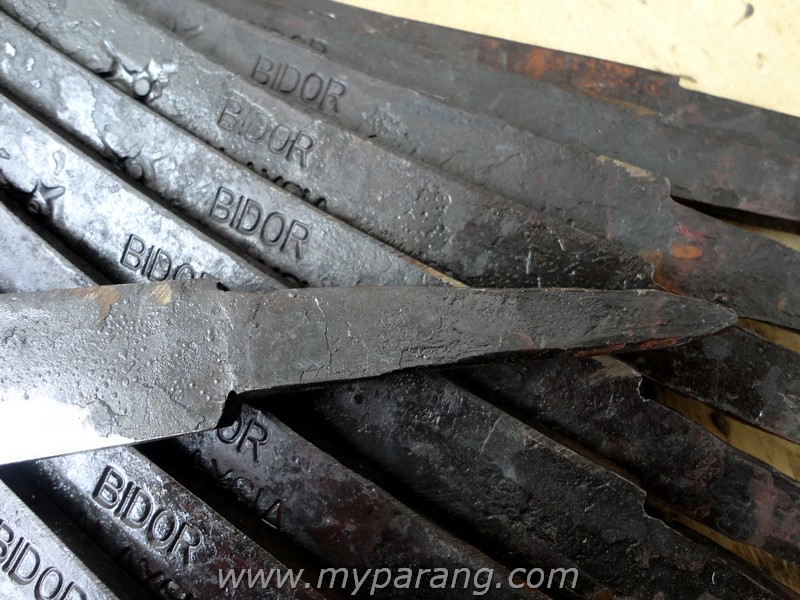
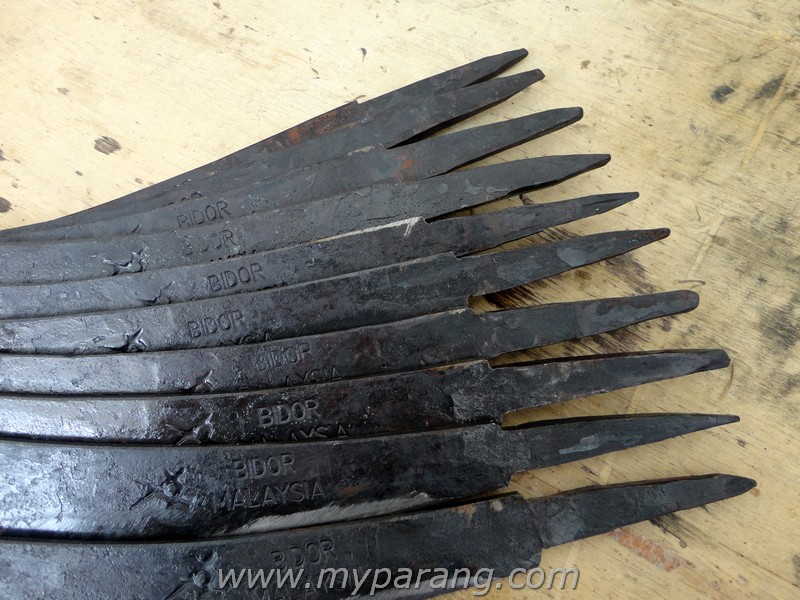
It’s been some time since our last post as things have been busy at the workshop. All good stuff!Parang tang 05This post will be about stick tang parangs. We get a lot of inquiries regarding full tang parangs, but at the moment we do not make them.  Most people ask for full tang parangs because they believe that the stick tang parang is a lot weaker and dangerous compared to a full tang parang. This may be a myth? Read on .

Parang tang 03The stick tangs parangs before the handle is installed

The traditional parang has remained unchanged for hundreds of years, and they have been stick tang all this while. For a design that has been that way for so long, there must be something right . The stick tang parang construction actually has a few benefits such as bringing the effective weight forward, hence a more powerful  chop, while reducing the overall parang weight. The stick tang also uses less steel  , and the handle, if it comes loose, can be easily repaired. Yes, sometimes the handle does comes loose , and if you are a regular parang user, you can immediately notice this when you do some chopping.

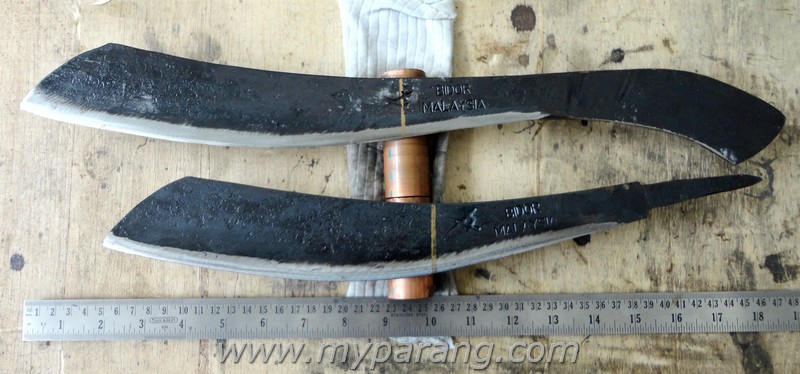
Parang tang 10This picture shows the stick tang parang is more weight – forward compared to the full tang parang. The gold coloured lines are the midpoint ( tip to tip ) .

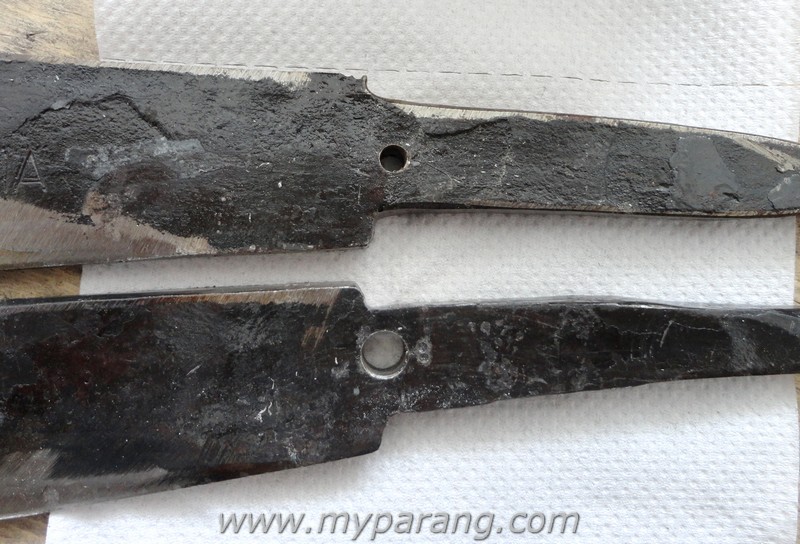
Some people add pins to their stick tang parangs ( all parangs from  myparang  have a brass pin under the collar ) to prevent the blade and handle from coming apart, and that’s acceptable. The pin does not help to strengthen the parang in any way, nor does it effect it’s balance. It’s function is to prevent the blade from dropping ( or more dramatic – flying out ) out . With that said, one should keep that clearly in mind. A bigger pin will NOT make your parang safer, actually it will weaken it a lot. By drilling a large hole, you are actually removing metal from the already thin stick tang. Too little metal on the tang will result in sudden  failure and potentially injure someone.

Some people add two pins, which is really not necessary. One pin is safe enough, two pins is overkill and not needed.

Parang tang 02The top is the hole size we use for our brass pin which is 3.5mm thick, while the hole below has a 6.0 mm hole drilled through it to show the effects of adding a larger pin. Notice how much metal is left in the lower parang stick tang.

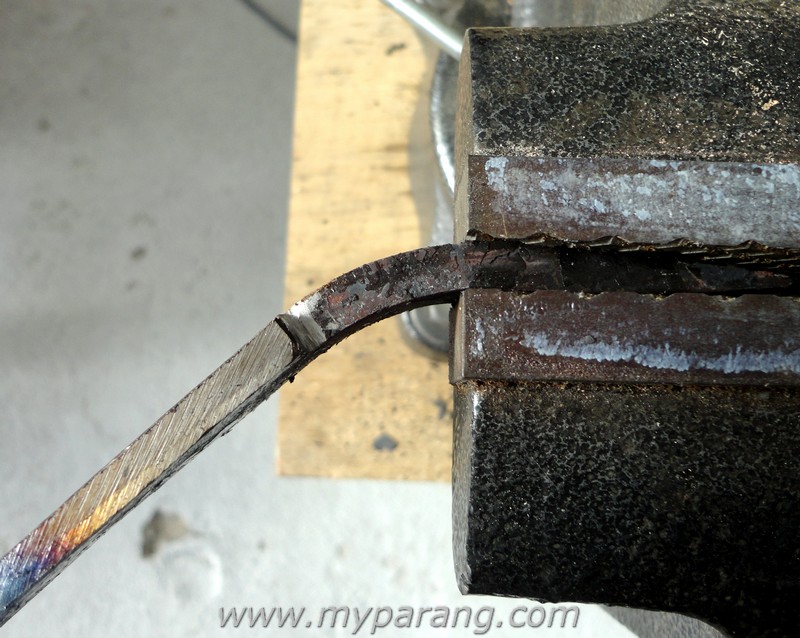
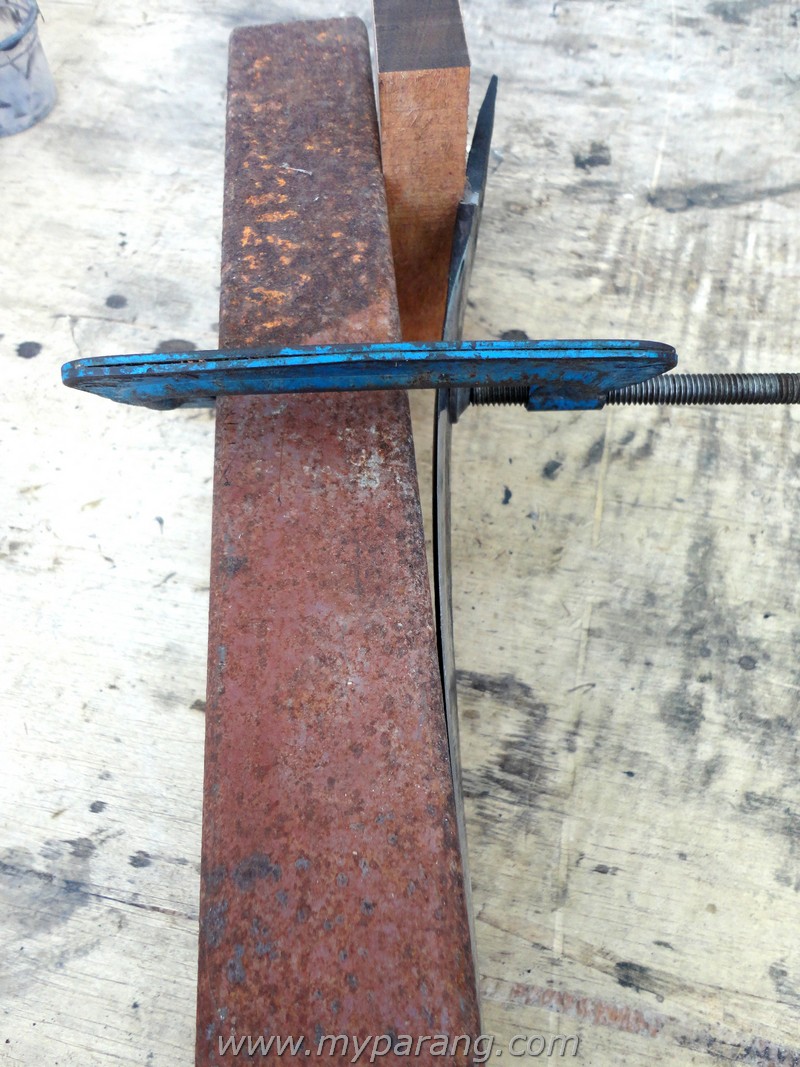
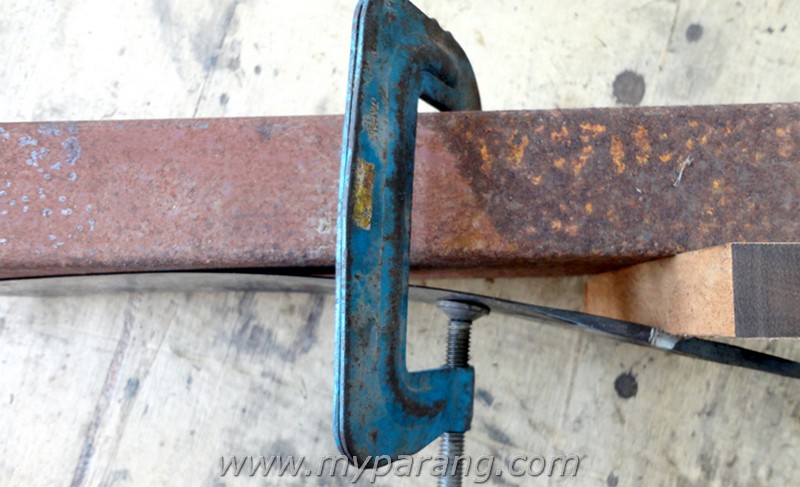
Some have raised their concerns on the “smallness ” of the tangs and are worried that the stick tang parang will break at the tang. This is probably true if the whole parang blade is hardened. The common parangs you see in Malaysia and also the ones from Myparang do not have a hardened tang. Only the cutting edge of the parang is hardened, not the spine and not the tang. This can only be achieved by hand – hardening the blades , machines cannot replicate this. So, while a modern factory made machete “might” break at the tang, a traditionally made parang with a stick tang will not. I have checked with the Bidor maker, and he himself after being in the industry for 50+ years, has never seen one if his stick tang parangs break at the tang.

Parang tang 13 Bending the tang , we tried, but it will not break!

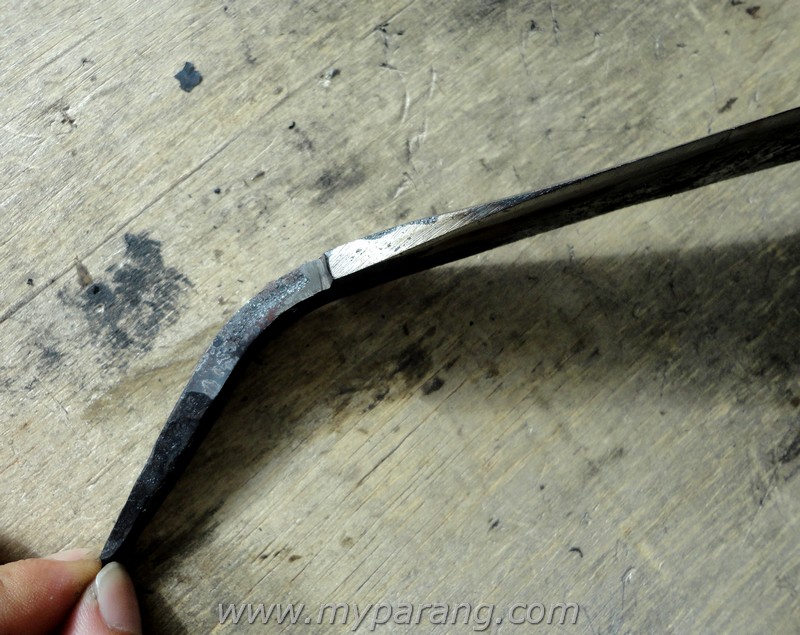
Parang tang 15Here it is out of the vice. No, we’re not turning this one into a parang 🙂 parang tang a 04 parang tang a 02 This is how much the blades can bend, actually it can bend more, but our G-clamp was at it’s limit already.

Having see the pictures, I hope it helps to illustrate the point that stick tang parangs are safe. Yes, the handle may come out loose. We at myparang try and avoid that by making sure the tangs are ground to bare metal, cleaned with solvents and use industrial strengthen epoxy to bind it all together. Then we add a 3.5mm brass pin as a safety precaution.

We understand that axes do not come pinned in any part of the world , and nobody pins axe heads. Interesting enough, as the axe heads are held by friction only in the hafts ! That’s some food for thought folks!

Testing parangs made by myparang

Here is a small update on testing parangs made by myparang.

A few weeks ago some of us had the opportunity to go off in the the bush nearby to test the parangs made by myparang. These were some of the newer versions, which include the Bidor 123 , 135 , the Duku Chandong 12″ , and the Duku Chandong Heavy  12″. The main reasons to do this test was to find out how well the handles held on . I was also curious to know how well the handle would feel like after a few hours of heavy use. I have a similar handle on another parang, and I find the shape extremely comfortable. But who knows, perhaps the weight , dimensions or shape may be slightly off. I know that I find it comfortable, but what about others? That’s why I brought some friends to help out.

It was a hot day but we did some hard work on the parangs  . Small twigs, bigger branches, Dry and live branches, dry bamboo and even at batoning , no task prove to be too hard while we were testing these parangs from myparang. At the start of the test, we were determined to create some failure , ie handle loosening  or cracking , but we failed and the parangs won. Beautifully .

Below is the video we took while we were testing them out. We will be adding more videos on parangs and their usage later on . Please don’t hesitate to comment on the video if you have any.

Here is a simple video on how to cut open a young coconut I made some time ago. It shows how the parang is choked up for close up work or when you don’t need too much chopping power.

.


Bidor Blacksmith


Lets have a look at the Bidor Blacksmith!

I’m sure many of you have heard of the Bidor Blacksmith by now. There has been many blog writings on them and their blades are sold worldwide. From a small family shack, they are now one of the leading parang / agricultural tools in Malaysia. Their expertise lies in their heat treatment – their blades are  easily sharpened and able to hold an edge for a long time.

Recently on our last trip, we took some pictures of the workshop and this post will be pretty picture heavy .

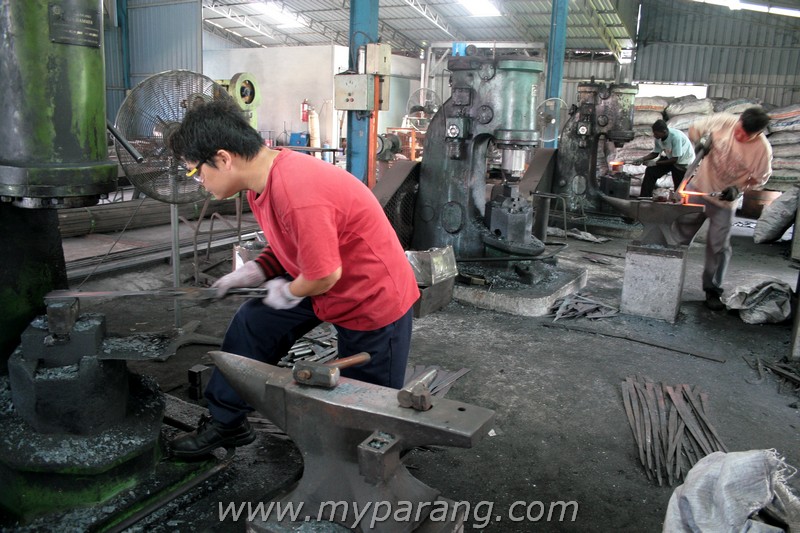
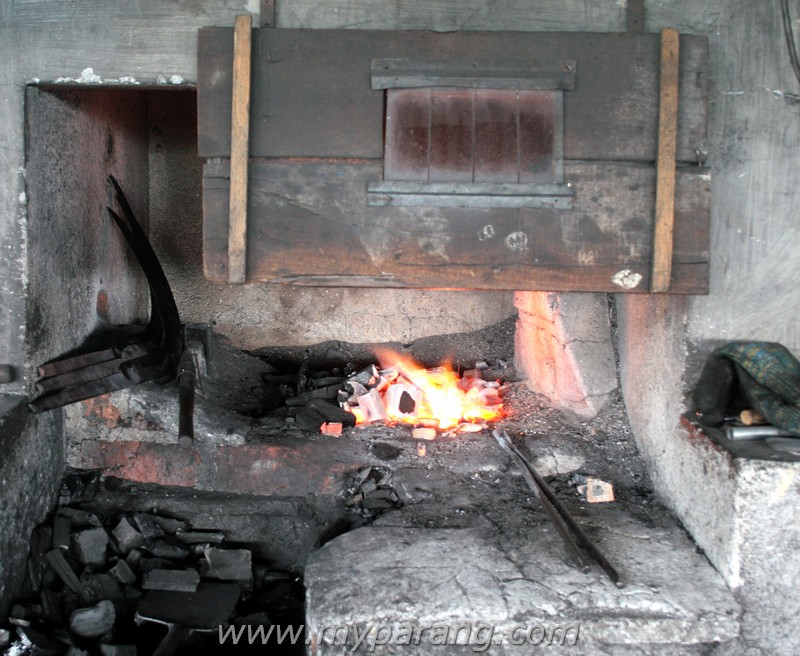
Here, they earn their living from making agricultural tools – from sickles to kitchen knives , and most things in between. Hence to live of this , their setup is pretty much bigger and is a stark contrast with the traditional makers. Here you can see half a dozen power hammers and tons of steel stock.

This post on the Bidor Blacksmith will be less wordy and will be mostly pictures. Pictures are worth a thousand words, therefore I won’t bore you much with lengthy explanations.

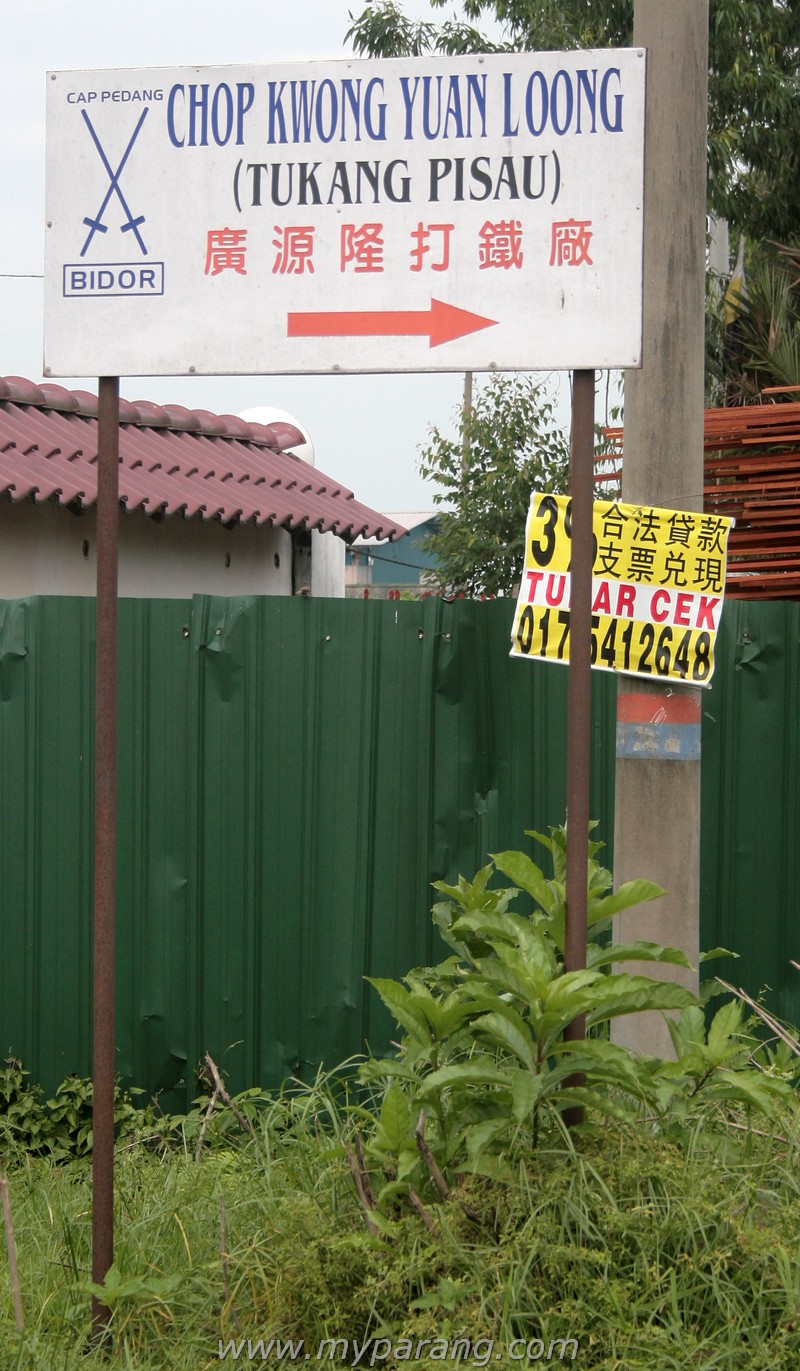
bidor blacksmith 022Signboards showing you the way to the factory

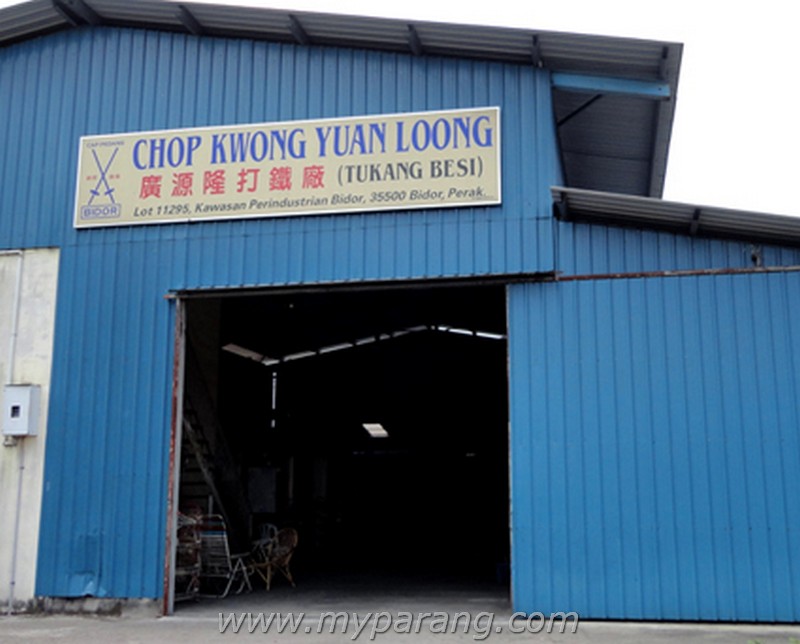
bidor blacksmith 001The factory main entrance

bidor blacksmith 002Some of the various agricultural tools you can find made there. 

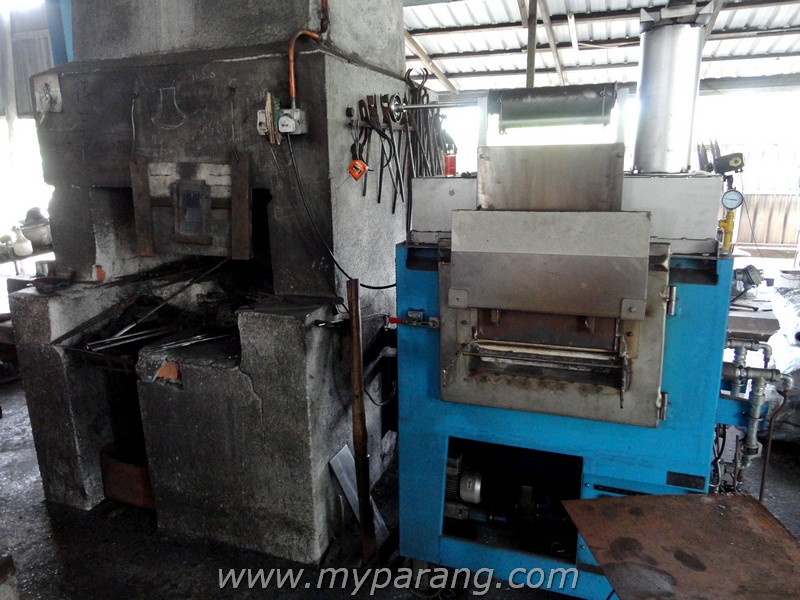
Late 2013, they purchased two gas forges, as you can see in the picture below. Apparently they have been having trouble sourcing for the right type of coal, and the gas forge is a very much welcome upgrade. Gas is much easier to obtain and more consistent in supply . They however, do not use it to heat treat their products. This is because the gas forge heats up the whole blade, and not only the cutting edge. This is true, since you only need to harden the edge only.

bidor blacksmith 004Brand new gas forge next to the charcoal forge

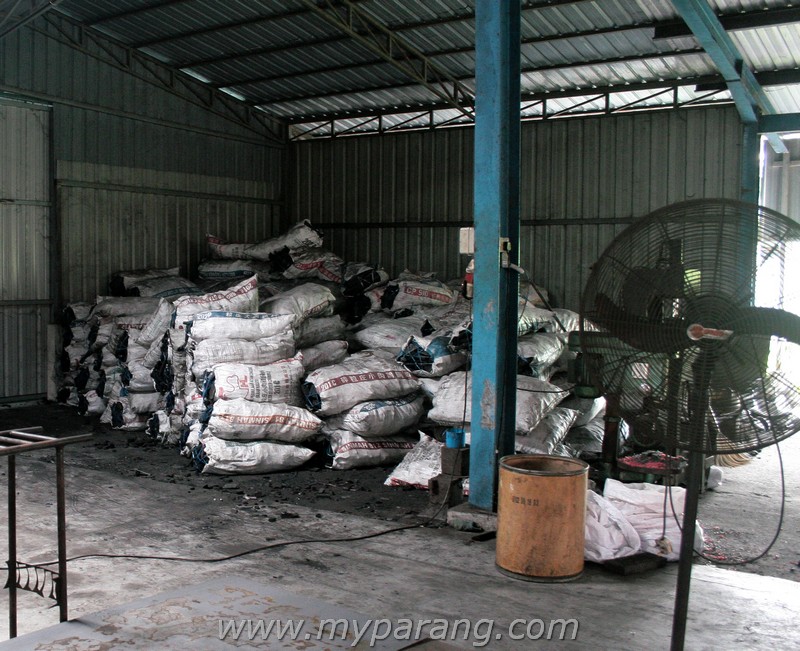
bidor blacksmith 018Their stockpile of charcoal. Ah Pin once told me if I can source this particular type of charcoal, he’d buy any amount I can supply him.

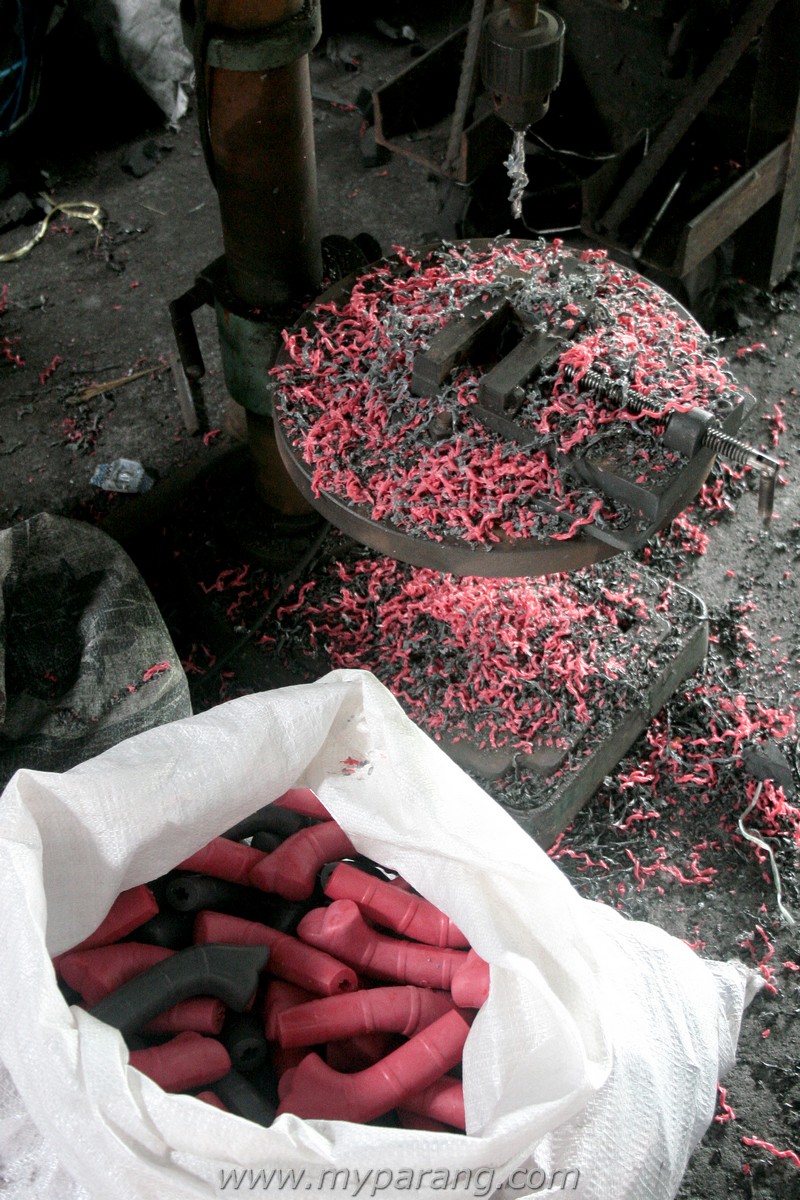
bidor blacksmith 019The plastic handles everyone seems to hate. Waxy, Slippery , obnoxious colours , but hey, it’s practical and easily seen on the jungle floor!

bidor blacksmith 005One of the tools they make – a betel nut cutter. You don’t see them much anymore.

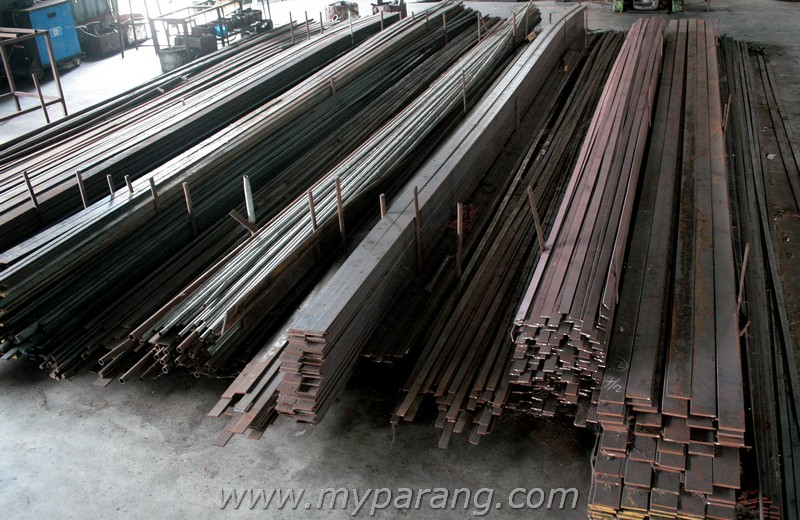
bidor blacksmith 016The steel stock they use come directly from the steel mill, and not from the recyclers. Recycled steel ( ie. leaf springs ) differ in composition and will result differently after the heat treat.

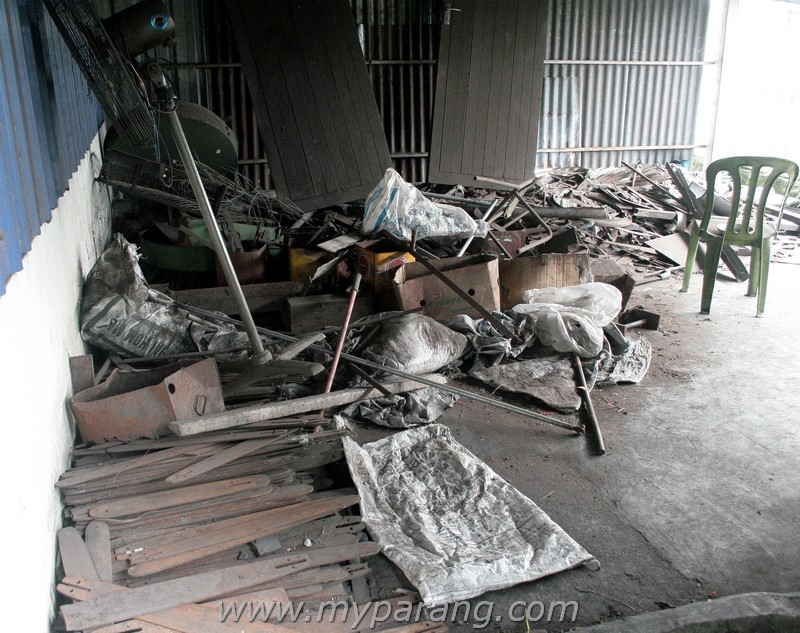
bidor blacksmith 020Here is a stockpile of scrap steel which they used back then. There are various files , chainsaw bar guides, recycled leaf springs etc , which are not used anymore.

bidor blacksmith 026Here workers pound the hot and soft steel into a shape .

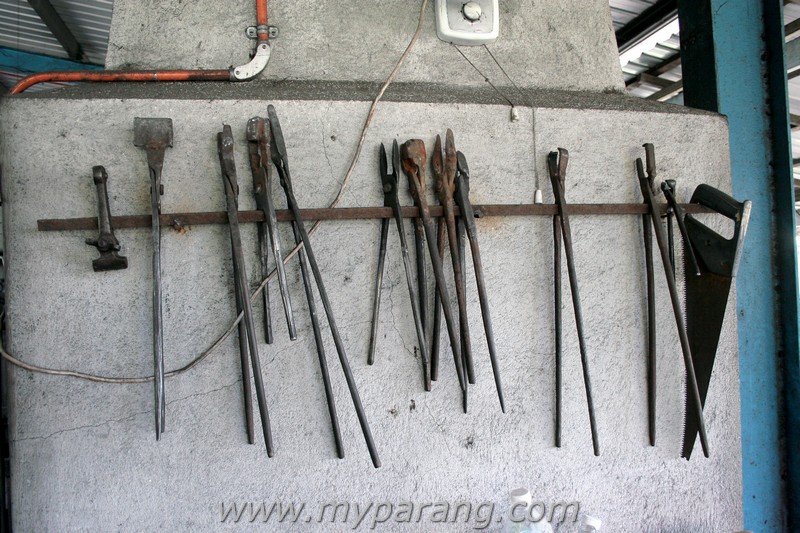
bidor blacksmith 025Some of the blacksmith’s tools hanging . Some are made by themselves.

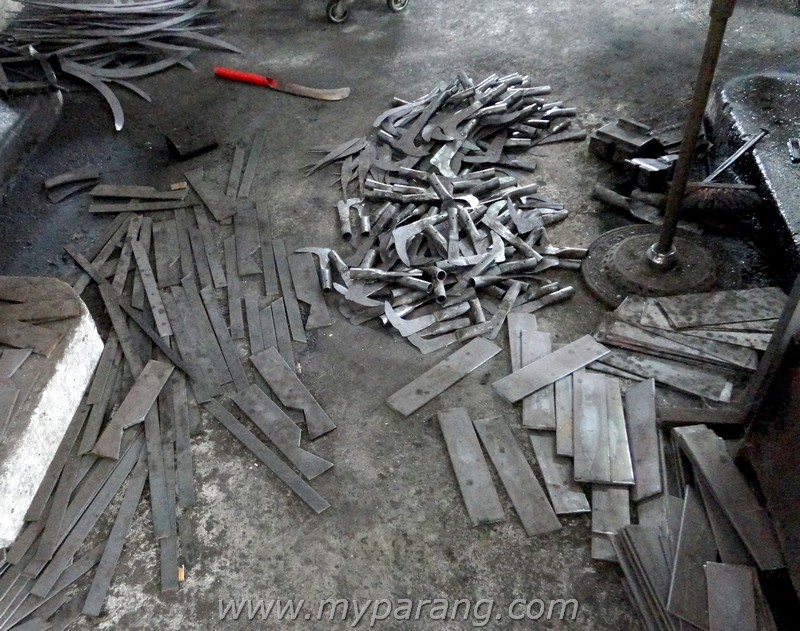
bidor blacksmith 003Some of the semi finished products left to cool on the factory floor

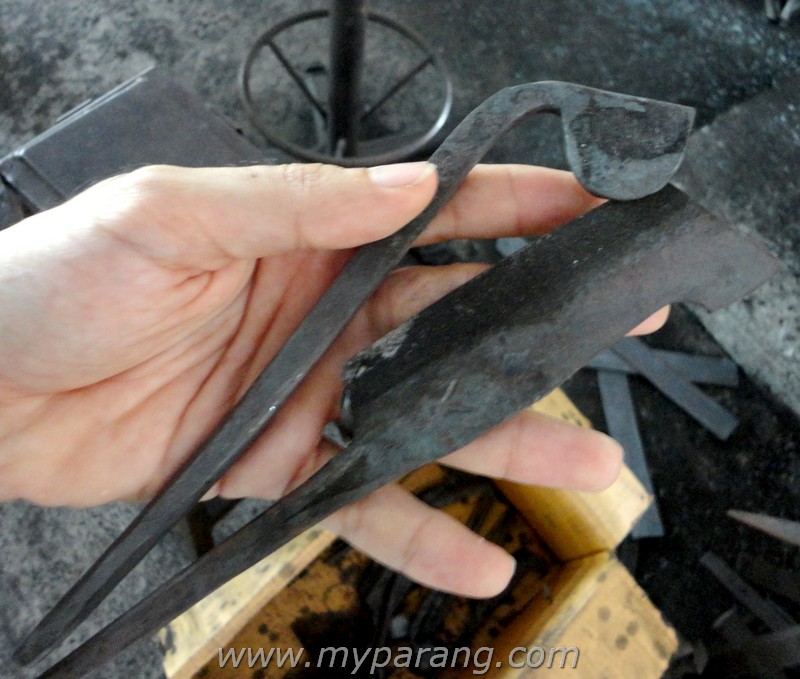
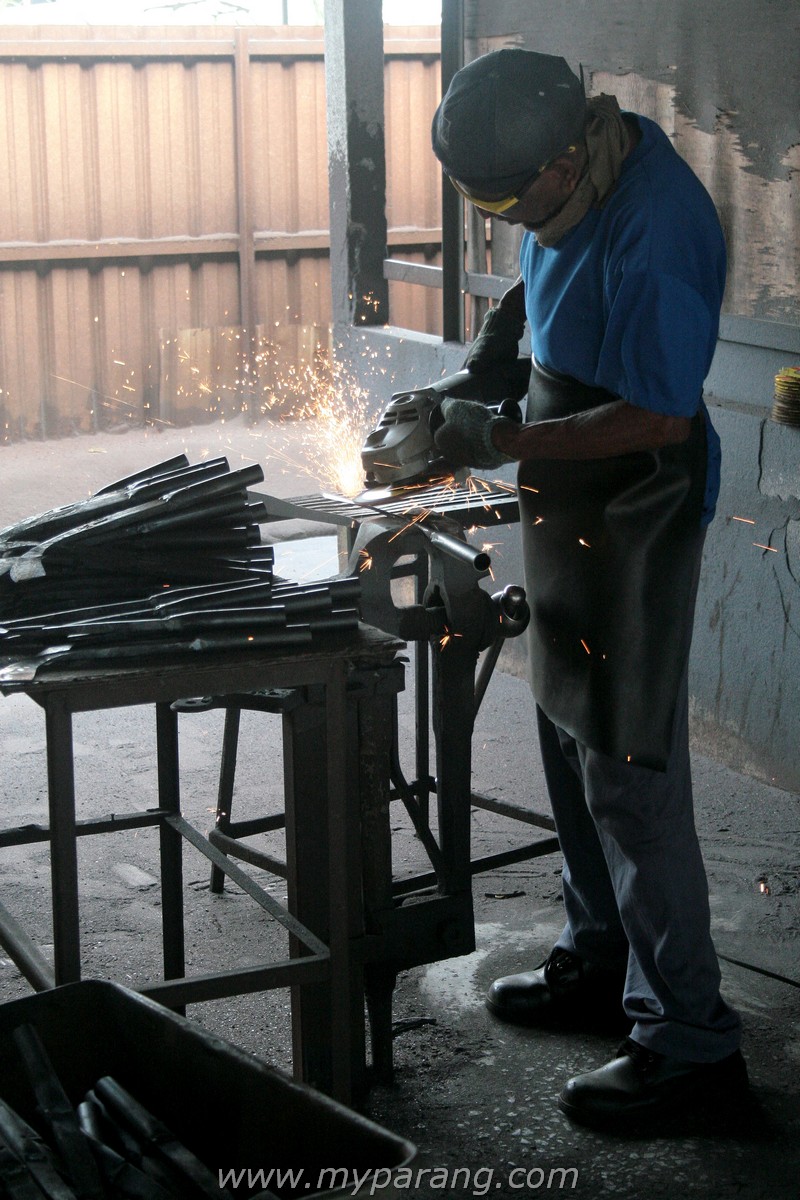
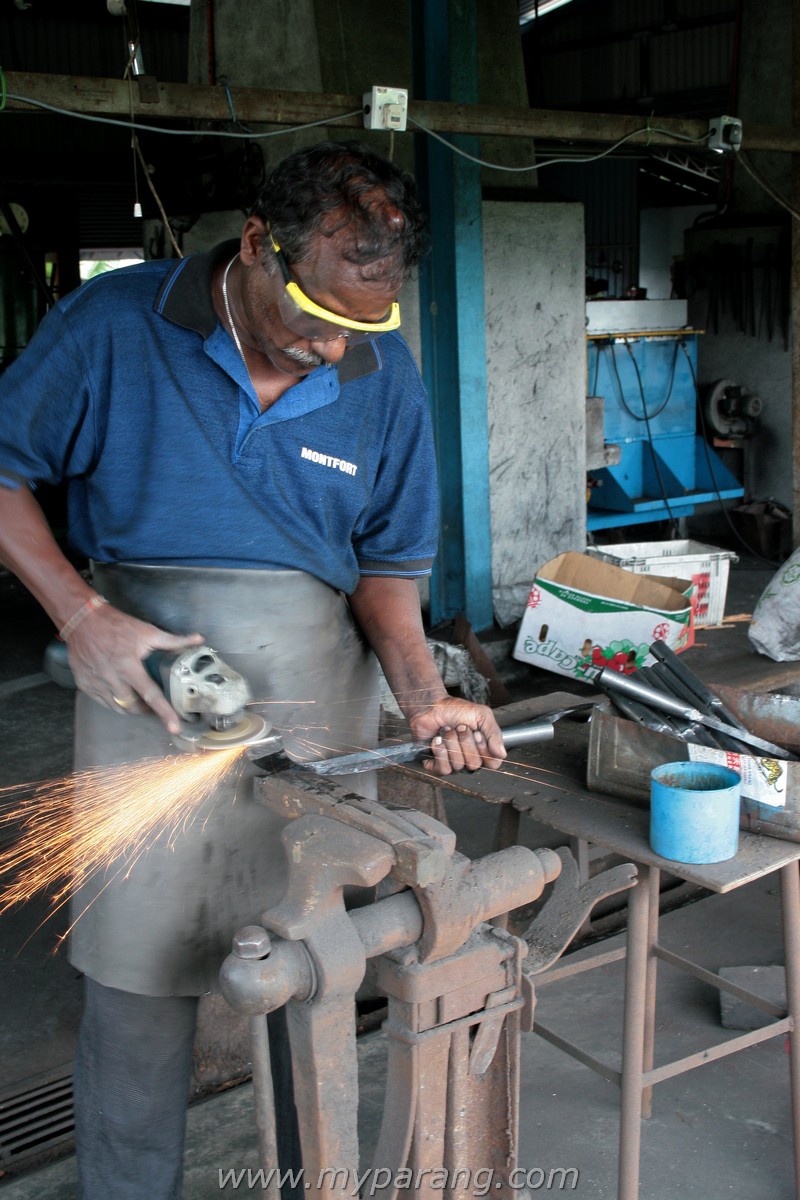
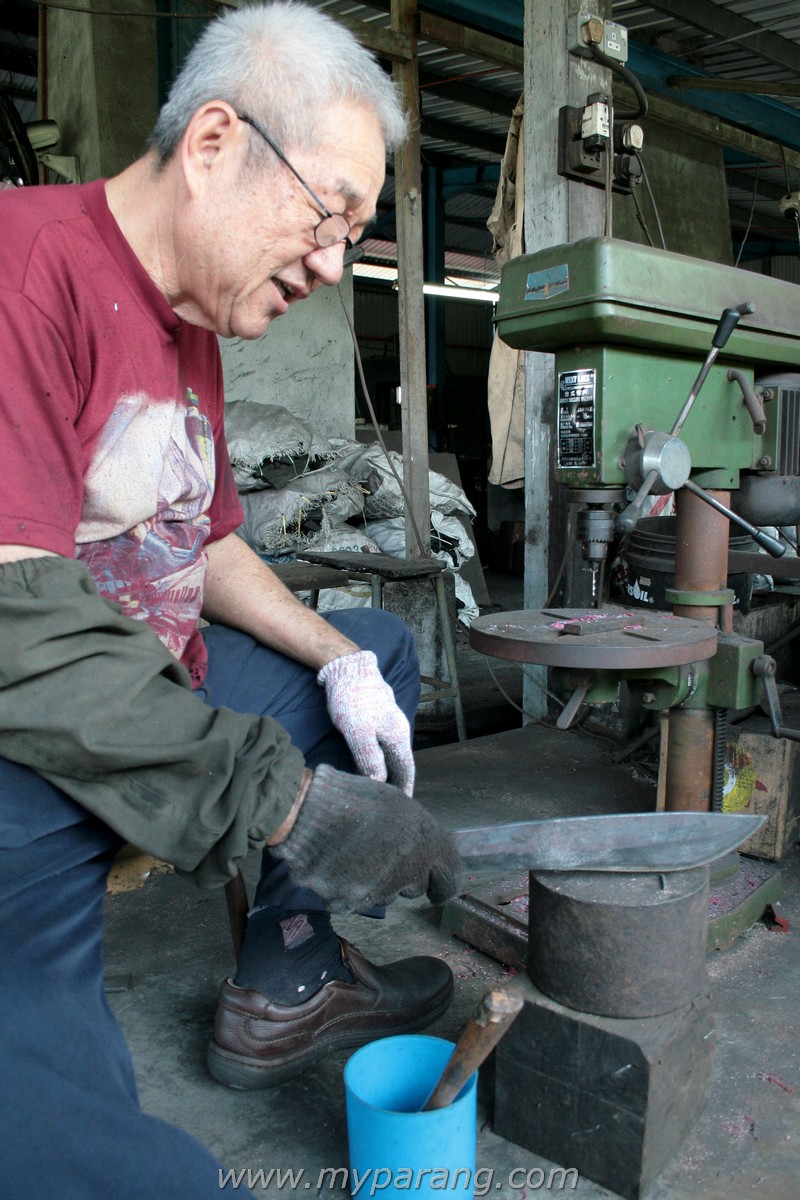
bidor blacksmith 017A worker rough grinds the worked steel into its final shape

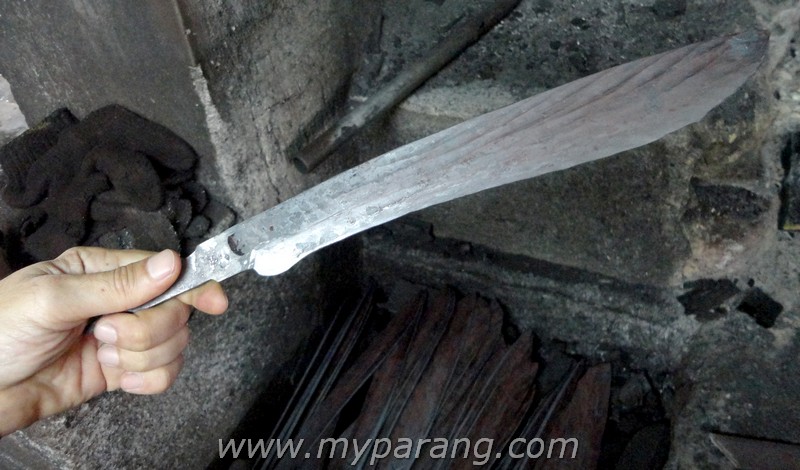
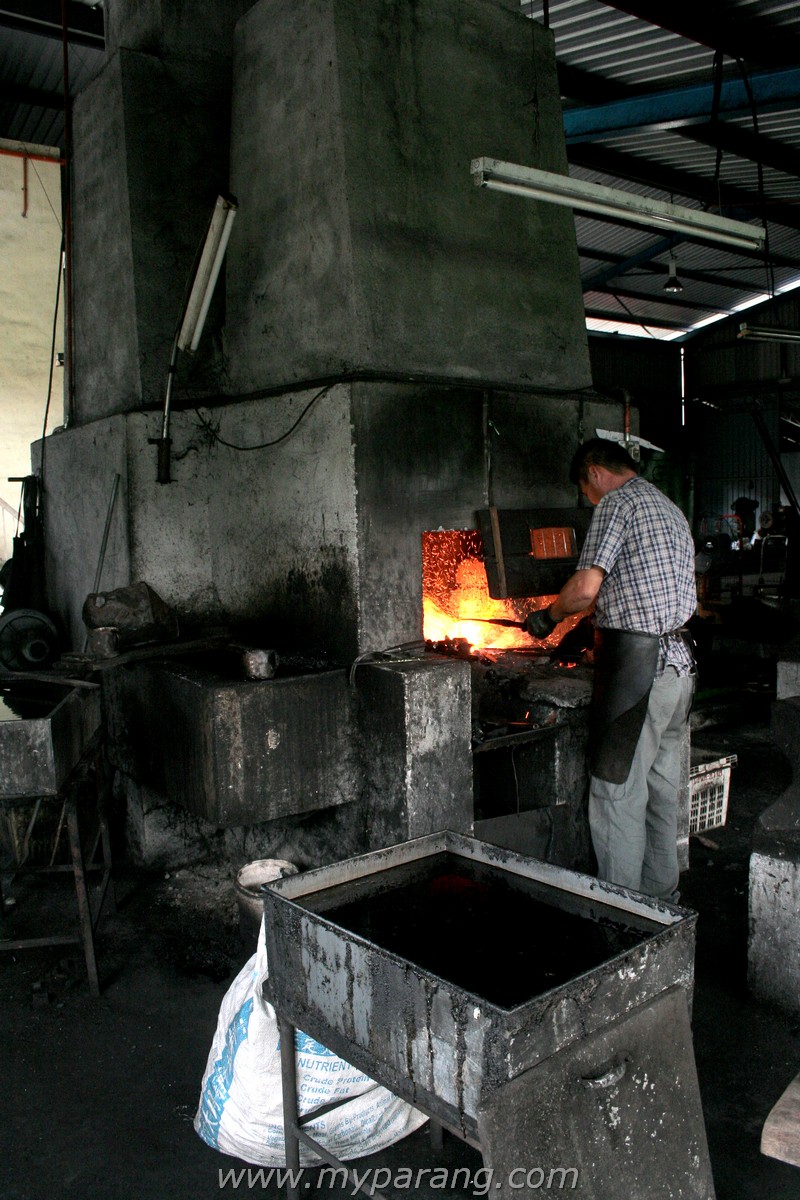
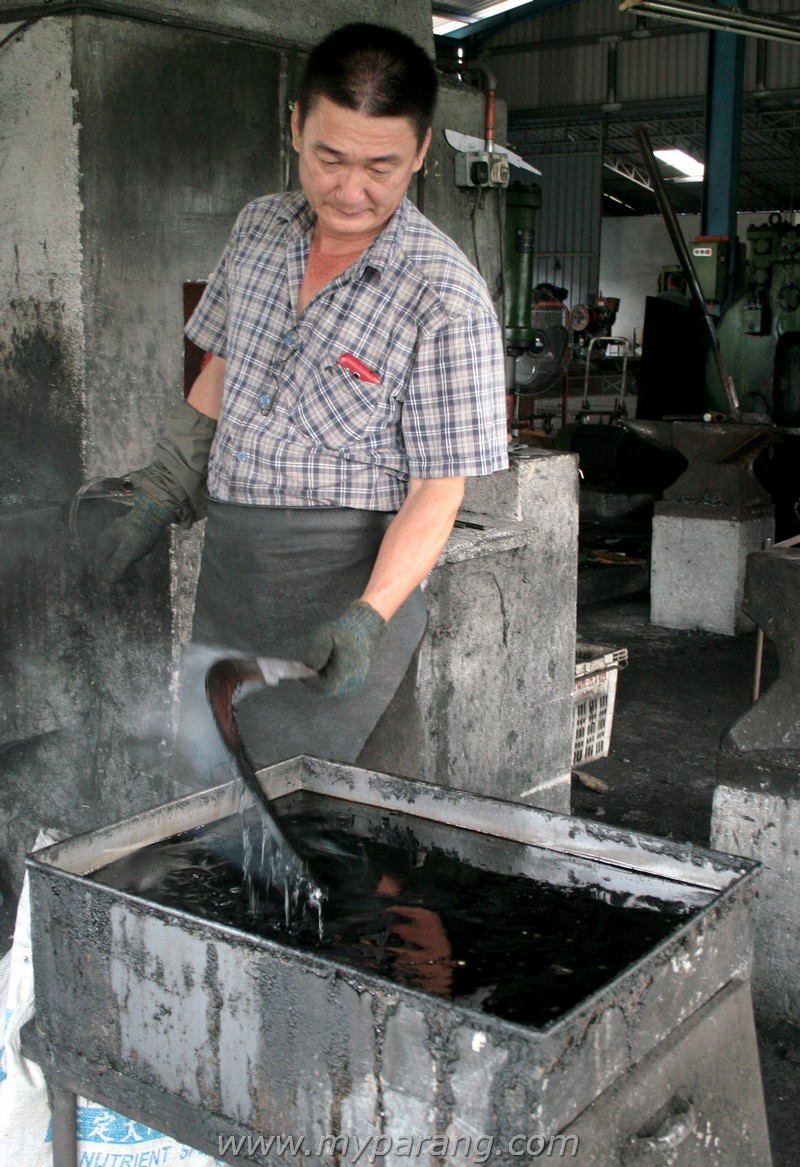
bidor blacksmith 007A Parang blank ready to be sent for heat treat bidor blacksmith 010Ah Ming firing up the forge to heat treat some blades. Note that he uses the charcoal forge and not the gas. bidor blacksmith 011Heat treat done in Oil .

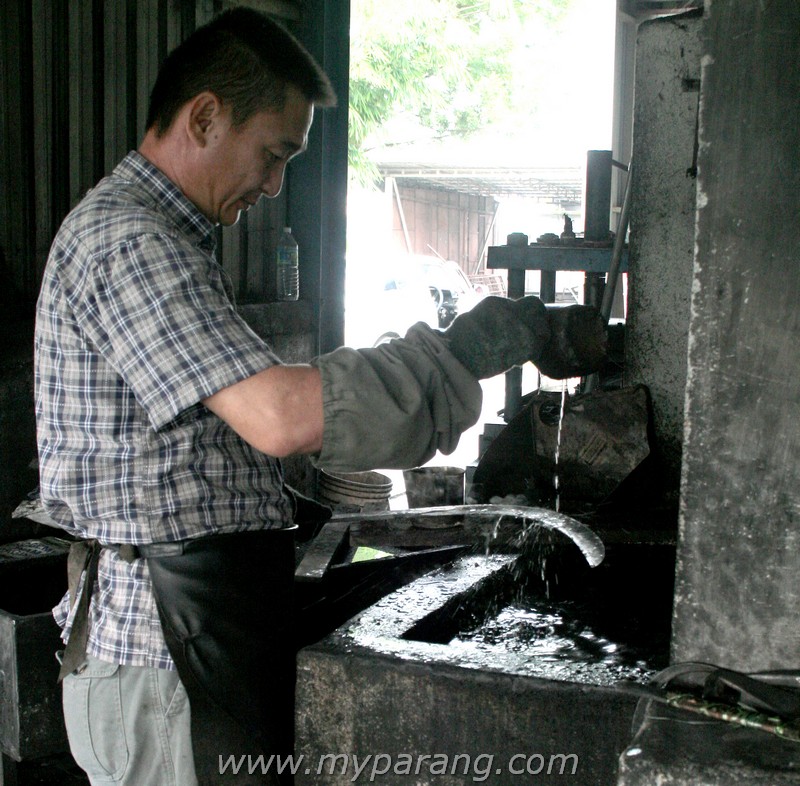
bidor blacksmith 012Heat Treat done with water

bidor blacksmith 027Mr. Pin showing how it’s done – hardening a parang blade in water.

I asked Ah Ming when he was demonstrating the heat treatment if there was any difference in using water or oil. He said no, but he mentioned that the oil is much messier , as it leaves a greasy surface on the blades.

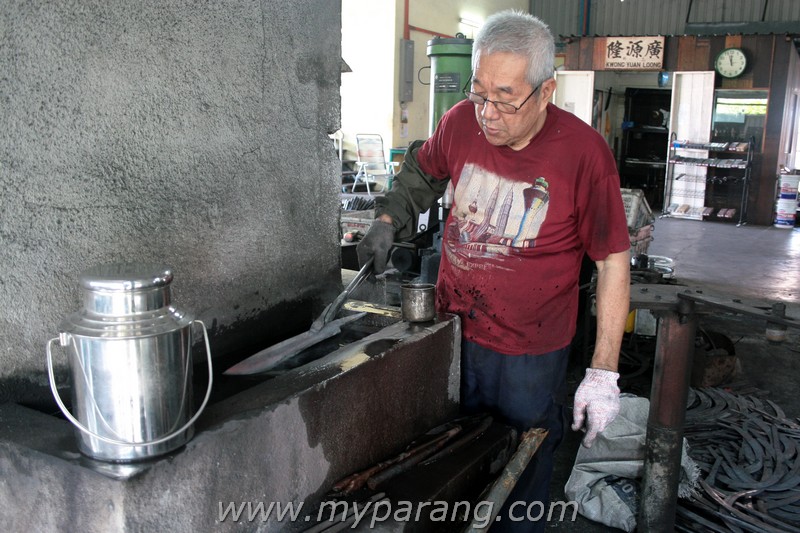
bidor blacksmith 013    After treat, the blades are left at the side of the forge to temper.

bidor blacksmith 008A worker sharpens the blanks – in this case a rubber tapping knife .

bidor blacksmith 028Here Mr. Pin showing the ability of his hand – hardened blades. Chopping steel pins with ease.

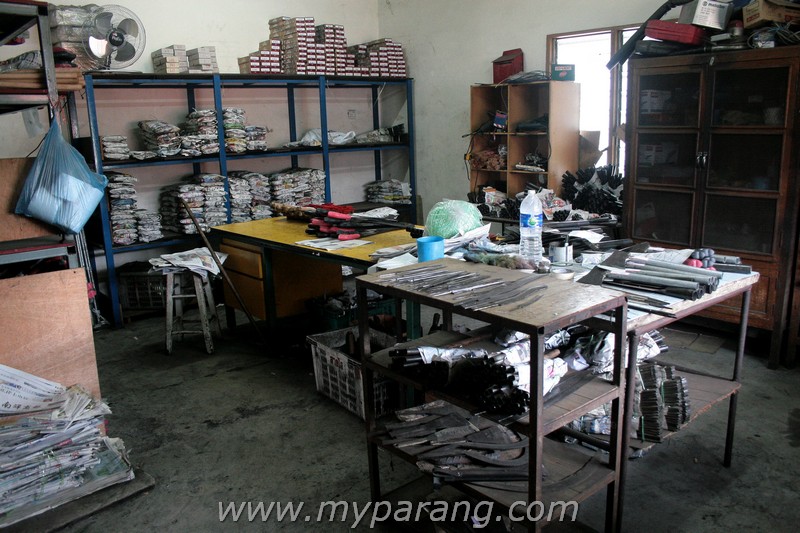
 bidor blacksmith 021 The packing center. Where orders are packed and kept for customers. 

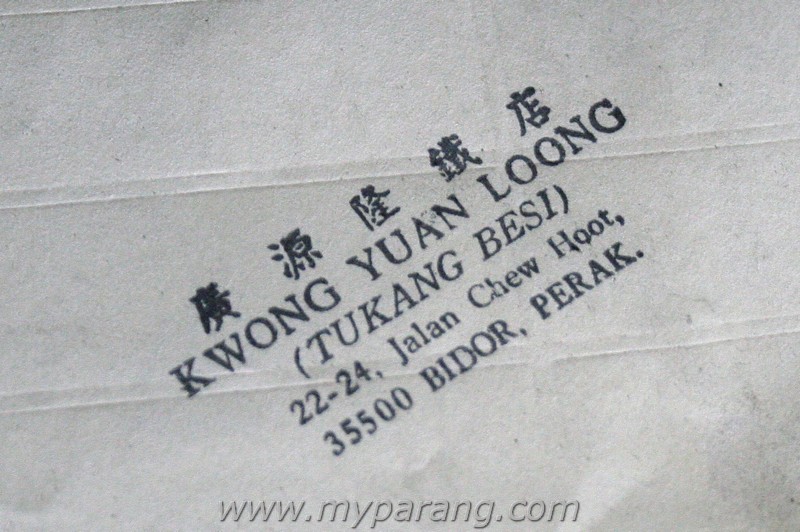
 The picture below shows the old address of the Bidor Blacksmith. Beware, as there are fakes make now days which uses this old address. When I spoke to Ah Ming, he mentioned that he knows about the fakes. He said they started when customers requested for Bidor made parangs , but the shops and their suppliers were too lazy to get them from Bidor itself, so they asked their  blacksmiths to copy to name and stamp it into their products. Really , anything can happen in Malaysia!  bidor blacksmith 015

edit 5/11/2014 : We have added a good video by the cool guys at ” Bush Channel ” on you tube.

Common Malaysian Parangs

Common  Malaysian Parangs

other bidor parangs 1Parangs and Goloks have been in our culture for ages, so it’s not surprising to have many skilled parang and golok makers in Malaysia. It is a thriving cottage industry and I must say there are some really good craftsmen out there. Each of the different states in Malaysia will have at least a dozen makers, from part time hobbyist to full time craftsmen.

Some makers only concentrate on making the blades, while some specialize in making wooden sheaths and handles only. Most do both, as it is a convenience to their customers. Some people do buy and create in stages, ie they may commission a parang or keris blade this year, and when they have some excess funds, they will then make the sheath and handle. The price of custom parangs vary widely, from rm 50.00 for a rough and bare one to rm 500.00 and above for more exotic ones using special steel and fancier wood.

While these craftsmen are many , so are blacksmiths who make agricultural tools. A lot if not all the tools used in palm and rubber plantations are sourced locally . They are much cheaper and easier to access. These blacksmiths who make agricultural tools vary in size, some are smaller backyard ones, while some are factories on their own , and can churn out hundreds of pieces every week.

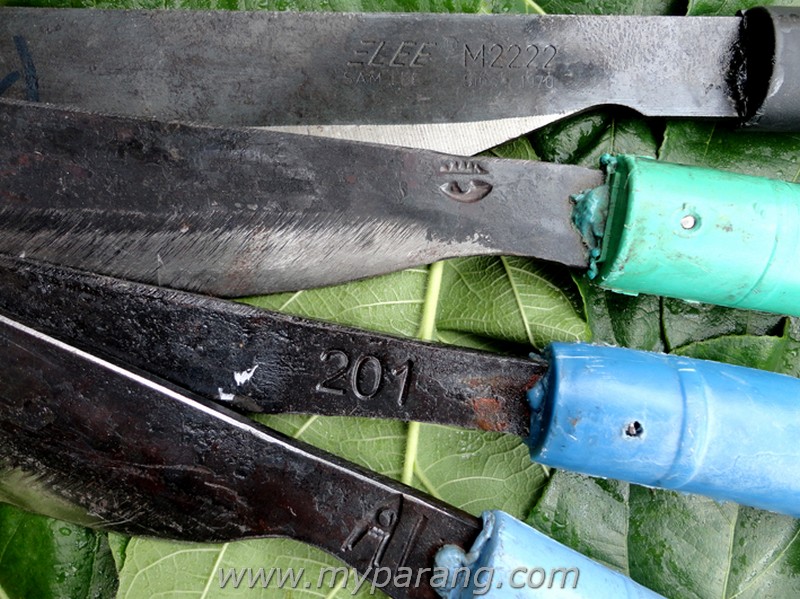
Common Malaysian parangs which you can find are of different brands like A1, Cap Mata ( eye brand ) , 201  and Sam Lee. There are more, and I will add them in once I have found them. Most of them are similar to the Bidor made ones, but one stands out quite a bit.

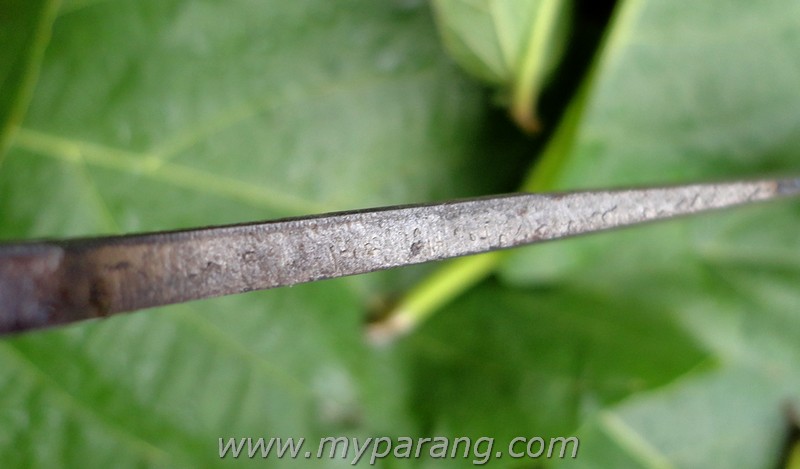
If you look closely at the one made by Sam Lee, it looks like it has been made in a factory. Like super mass produced. The blade is stamped off a large sheet of metal , as you can see the sheer marks on the side of the blade.

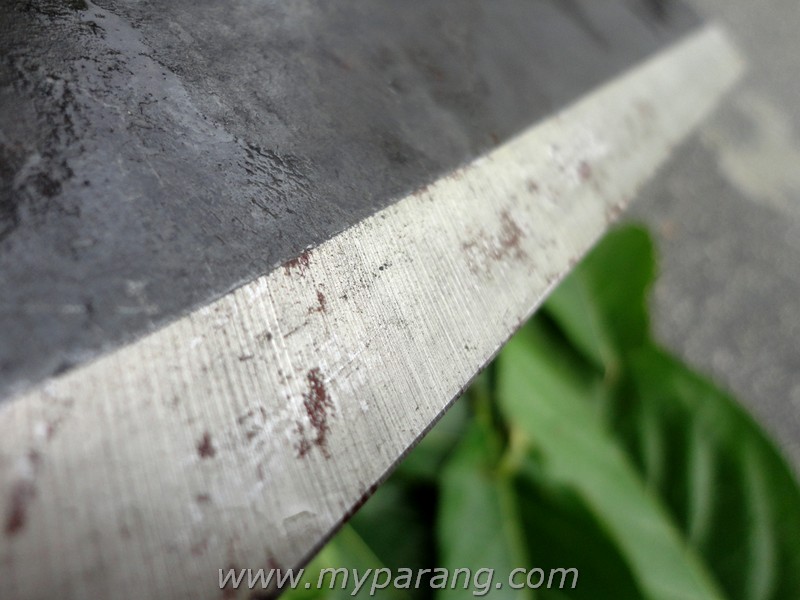
sam lee parang spineYou can also see the edge grinding is probably made by a machine as the grinding marks are very evenly spaced and even. They even have a micro bevel at the edge.

sam lee parang 2It would be nice to check their factory out one day, but I will need to do some research as the parangs they make do not come with any address or contact no.

More parangs to come, so stay tuned!

Translate »